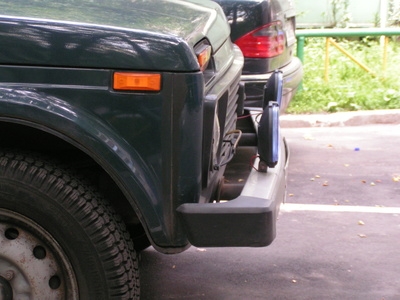
Many vehicle manufacturers have opted for textured bumpers on their vehicles, making bumper repairs a little more tricky. Most mechanics will just throw away a damaged textured bumper and replace it, which can put a strain on most pocketbooks. Luckily, textured bumpers can be repaired by the car owner at little cost. To repair a textured plastic bumper, you will first need to seal and reshape the damage, smooth out the front to hide the blemish, and then reapply the texture. This can all be accomplished in a few easy steps, so there is no need to hire a mechanic.
Remove the bumper and clean well with a plastic/rubber cleaner. Test for cleanliness by spraying with water and watching for the water to rest, covering the surface of the bumper smoothly. If it beads or runs off completely, it is not yet clean enough for repairs.
Heat the edges of any broken piece that is jutting out with a hot air gun and press it back into place once it is hot. Once you have it back in its proper place, run a cold wet rag over it to cool it down quickly.
Melt a polypropylene welding rod along the back seam with a hot air gun.
Dig out a ditch along the seam in the front, going about halfway through the plastic with a carbide burr, once the back is finished. The ditch should be about half an inch wide. Sand the ditch with 50 grit sandpaper, and then again with 80 grit.
Melt a polypropylene welding rod into the ditch in the front of the bumper with a hot air gun. Do not try to melt the welding rod into the bumper, just melt the rod completely and it will adhere correctly.
Sand the front seam with 80-grit sandpaper to take off any big lumps or snags, and then again with 180-grit to smooth it out. Blow the seam with compressed air to remove the debris from sanding, then apply an adhesion promoter and let it set for 10 minutes.
Go over the area with a filler or plastic finishing putty and smooth so it hides any sign of repair. Let dry and then sand with 180-grit sandpaper, followed by 240- and 320-grit to remove any plastic fuzz. Blow the seam again with compressed air and then apply another layer of adhesion promoter. Let set for 10 minutes.
Spray the area with a texture spray to re-texture the damaged part of the bumper to help it blend in with the unblemished side of the bumper. Scuff very lightly with a scuff pad to take the tops off of the texture and remove any strings. Spray with a bumper coat color to finish the repair. A bumper coat color that matches can be found at most auto supply stores.