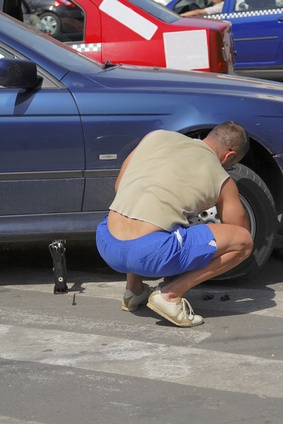
Changing the front wheel bearings on an Oldsmobile Cutlass Ciera isn't rocket science, but it does require some special tools and reasonable mechanical ability. Signs of needing new front wheel bearings include a noisy front end and a wobble in the steering. Inspect your front end any time you detect these issues. Fix both the right and left bearings at the same time. They are sealed units so if they are worn out your only choice is to replace them.
Jack up your vehicle in a safe, level spot and support it on jackstands. Remove a front wheel with the lug wrench.
Install the boot protector on the inboard-side CV-joint using the halfshaft boot protector (tool J-28712).
Push the drift punch through the caliper and rotor cooling fins. Use the clean rag to clean off any lubricant or dirt from the axle threads.
Remove the nut and washer from the hub and throw away the nut. Take out the drift punch and caliper and hang the caliper using a wire or zap strap.
Disconnect the Automatic Brake System sensor (ABS) from the hub bearing. Remove the knuckle mounting bolts and use the front hub spindle remover tool to separate the halfshaft from the hub bearing.
Remove the bearing assembly, O-ring, bearing shield and bolts.
Look closely at where the new gasket will sit and make sure both the gasket and the mounting surface are perfectly clean. Use the bearing seal installer tool to install the new seal on the inboard side. Apply wheel bearing grease to the edge of the seal.

Connect the ABS sensor and install the new O-ring on the hub bearing.
Install the halfshaft onto the axle shaft making sure the splines are engaged securely.
Install the bearing onto the steering knuckle, followed by the backing plate and retaining bolts. Tighten the retaining bolts to the correct pressure with a torque wrench. Manufacturer's specification for these bolts is 63 foot/lbs. pressure unless your parts supplier says otherwise.
Put the rotor and caliper assembly back in place on the rotor and tighten the mounting bolts to 38 foot/lbs. Install the original washer and new hub nut.
Partially tighten the new hub nut with the torque wrench but just enough to seat the bearing. You may need to use the drift punch again to prevent the hub from rotating as you tighten the nut.
Remove the boot protector and install the front wheel.
Lower the vehicle and tighten the hub nut to 185 foot/lbs.