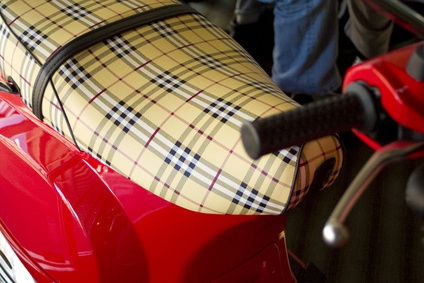
Rubber scooter grips are the only thing that come between your hands and a scooter's metal handlebars when riding, and they have to be in good shape for you to have control over the scooter. Over time these bar covers get old and hard. They also get dirty from road grit and exposure. Changing the grips every couple of years can give your scooter a new look and--more importantly--keep the scooter safe to drive.
Secure the scooter on its frame stand so it won't fall over. Using a box cutter or similar sharp tool, start a cut from the edge of the old handle grip facing the center of the headset. Continue the cut all the way to the outside edge of the handle. Repeatedly deepen the cut until you reach the metal handle inside.
Peel apart the old grip until it is completely free from the handlebar. Use a spare towel to clean up the remainder of gummy residue on the handle.
Unpack the new rubber grips. Take some WD-40 or similar lubricant and give a slight spray into the inside of each grip. Turn the grip downward so that extra lubricant drips out. Twist the new grip onto the handlebar. Continue to push and twist it into place as far as you can by hand.
Take a rubber mallet and smack the grip gently into place once you've twisted it as far as you can by hand. Use a shop towel to wipe off any residual lubricant that squeezed from the open end of the grip when you placed it onto the handlebar.
Let the grips sit for an hour for any remaining lubricant to dry up and absorb into the inside of the rubber grip surface touching the handlebar.