The thermostat in a vehicle adds coolant to the engine after it reaches a preset operating temperature. The thermostat has a heat-controlled spring that opens a valve to supply coolant to the engine block. The coolant travels from the engine to the radiator for cooling, and back through the thermostat to the block at a cooler temperature. Defective thermostats stick in a closed position and do not allow the engine to cool. The temperature gauge, an overheating engine, and steam from the radiator are signs of a thermostat that needs replacement.
Let the Cadillac Catera cool completely with the hood up before beginning a thermostat replacement.
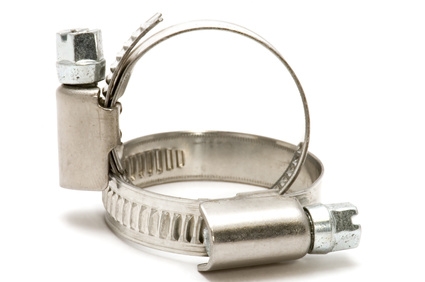
Insert a flat head screwdriver into the worm nut on the band of the top radiator hose near the thermostat housing. Turn the screw counterclockwise to loosen the band. Pull the hose off the thermostat housing and immediately turn the loose end up. Follow the upper radiator hose to a metal housing with two bolts to locate the thermostat. It is a metal circle with an ear on each side containing a bolt.
Slide a zip tie around the hose pointing up and the radiator cap. Insert the loose zip tie end into the square and pull the end tightly through the square. This will secure the radiator hose in an upturned position so the antifreeze does not drain out of the hose.
Remove the two bolts on the thermostat housing with an adjustable wrench, turning each counterclockwise. Lift the bolts straight up and out and set them aside.
Lift the thermostat housing straight up to remove it.
Slide a sharp chisel along the top of the housing and the bottom to scrape off all old gaskets and gasket material.
Place the new thermostat gasket in the palm of one hand. Dip a forefinger into any grade motor oil and wipe all around the gasket. Place the lubricated side down on the thermostat housing, aligning the holes on each side. Lubricate the side of the gasket pointing up in the same manner.
Place the thermostat with the long end down in the housing.
Put the thermostat housing's top on top of the thermostat.
Insert the two bolts and tighten each in a clockwise direction.
Hold the top radiator hose in one hand and cut the zip tie with scissors in the other hand.
Press the radiator hose onto the thermostat housing. Turn the worm screw on the metal band clockwise to secure the hose in place.