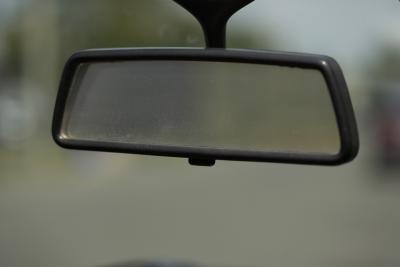
Rear-view mirrors are attached to the inside of the front windshield and allow the driver to view cars and objects behind the vehicle. There are a wide variety of after-market rear-view mirrors that allow for wider views. To install these mirrors, you must replace the current rear-view mirror. The most important part of replacing a rear-view mirror is using the proper type of adhesive so that it will support the mirror weight.
Move the vehicle to a garage if it is winter or a shady location if it is summer and let it sit for one to two hours to allow the windshield to get to approximately 75 degrees Fahrenheit. If the windshield is too hot or too cold, the glue will not adhere properly.
Draw a circle on the outside of the windshield using a dry-erase marker to mark the location of where the rear-view mirror is attached.
Examine the base of the mirror attached to the windshield and look for a screw. Use a screwdriver, or Allen wrench if the screw is a hexagon, to remove the screw. If there is no screw, refer to the car's owner's manual for how to detach the rear-view mirror because some twist off and others pull down from the ceiling.
Insert a flat-blade screwdriver, or knife tip, under the edge of the round button that is glued to the windshield and twist it to pop it off the windshield.
Pour one tablespoon of rubbing alcohol or paint thinner onto a rag and wipe the windshield to remove all traces of glue. If needed, scrape the windshield with a razor blade to dislodge stubborn adhesive.
Open the adhesive in the mirror replacement kit and apply a dime-sized amount to the back of the button for the mirror.
Align the button with the circle you drew on the outside of the windshield and press it firmly against the windshield. Hold it for at least one to two minutes.
Let the button sit overnight to allow the glue to harden and cure. Insert the rear-view mirror back onto the button by reversing the removal steps. Wipe the exterior of the windshield to remove the marker.