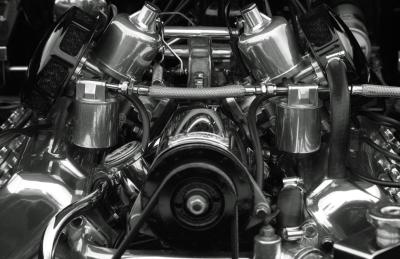
You will need to remove the engine from your 1997 Ford F-150 if you're considering a rebuild, or if the engine has a bent rod or some other internal problem. The most important thing to remember, when going through the process, is to label the wiring connectors and hoses for later reinstallation in the engine. Masking tape stays on the part, and you can easily write on it.
Empty the freon from the truck at an authorized repair facility unless you have an evacuation machine. It is illegal to expel freon into the air. If the air conditioning does not work because of a leak in the system or you do not have air conditioning, skip this step.
Remove the fuel pump relay. Turn the engine over two or three times to relieve the fuel pressure in the lines. The fuel pump relay is located in the relay box near the driver's side fender well. The cover is marked with a map of the relay positions. Disconnect the negative battery cable and set it aside. Disconnect the positive battery cable.
Mark the position of the hood on the hinges and the hood, then remove the hood with the appropriate socket. Place a drain pan under the radiator petcock. Loosen the petcock and allow the antifreeze to drain. If the drain pan is clean, you can reuse the antifreeze.
Unbolt and remove the fan shroud and cooling fan with the appropriate sockets. Loosen the hose clamps on the radiator hoses with the appropriate socket, screwdriver or pliers, depending on the type of clamp used. Remove the radiator hoses from the radiator and the engine by pulling them off. Unbolt and remove the radiator.
Push the accessory belt tensioner pulley away from the belt and lift the belt off the pulleys. Loosen the clamps in the air cleaner duct then pull the duct off the air cleaner assembly. Unbolt and remove the air cleaner assembly with the appropriate sockets.
Remove the intake-to-head bolts with the appropriate socket. Lift the intake assembly off the engine. Remove the bulkhead connector cover then detach the connector. Unbolt and remove the power steering reservoir bracket and move the reservoir aside. Loosen the clamps on both DPFE transducer hoses and remove the hoses.
Disconnect both EGR valve fittings from the EGR and exhaust manifold. Remove the EGR tube. Loosen the hose clamp on the heater hose then pull the heater hose off the engine. Remove the electrical harness from the ignition coils, radio capacitor and the camshaft position sensor.
Unbolt and remove both ignition coils and their mount brackets with the appropriate sockets. Raise the F-150 with a floor jack and support it on jack stands. Remove the wiring on the starter with the appropriate socket. Unbolt and remove the starter. Remove the three screws on the lower radiator air deflector, then remove the five clips and pull the deflector off.
Unplug the harness connector for the air compressor. Remove the manifold-to-compressor bolts, then lift the air compressor manifold and tube assembly off the engine. Unbolt the air compressor retaining bolts and remove the air compressor with the appropriate socket. Pull the fluid cooler hoses out of the clip on the block.
Remove the torque converter inspection cover if the truck is an automatic. Use the flywheel turner to rotate the flex plate until you see a torque converter bolt through the inspection hole. Remove the bolt with the appropriate socket. Repeat until all the torque converter bolts are removed. Unbolt the transmission bell housing-to-engine bolts. If you have a stick-shift, unhook the linkage from the transmission, remove the drive shaft, then unbolt the bell housing bolts and remove the transmission.
Disconnect the power steering pump and set it aside without disconnecting the power steering lines, using the appropriate sockets. Unbolt and remove the exhaust at the collectors. Use a coat hanger or other piece of wire to hold the exhaust off the ground.
Unscrew the right and left engine mount through-bolts. Lower the F-150 off the jack stands. Attach an engine hoist to the engine. Lift the engine out of the vehicle. Place the engine on an engine stand.