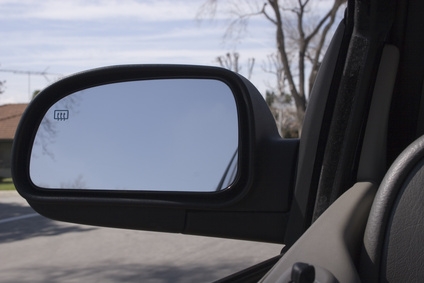
If you need to reattach a side view mirror on your vehicle, you can save yourself some money by doing it yourself, rather than taking it to a mechanic. You will need some common household tools and a little patience, but you can get it done quickly. Keep in mind that reattaching most side view mirrors will have many common steps, but each make and model may differ slightly. Some differences may include types of screws, their location, attachment positions and whether you need to hook up electrical wires.
Open the door on your vehicle and roll down the window all the way.
Locate all screws on the inside door panel and remove them. Some screws might be concealed with a plastic cap; use a small flat head screwdriver to pop it off so you can access the screws.
Remove any Torx screws on the inside panel. You will usually find these above and below the armrest.
Pry away the inside door panel, at the top where the mirror attaches, with a small pry tool. Make sure you wrap the pry tool in a shop rag to help protect your vehicle's paint.
Line up the studs on the side view mirror with the door frame holes. Tighten them down with the nuts found inside the door panel. If there aren't any nuts, you will need to purchase new ones. Plug in any electrical wires according to color code on the mirror and tighten the gasket seal.
Test the mirror to make sure it works. Once verified, replace the door panel and all screws. Make sure you replace the inside door panel correctly before tightening down all the screws.