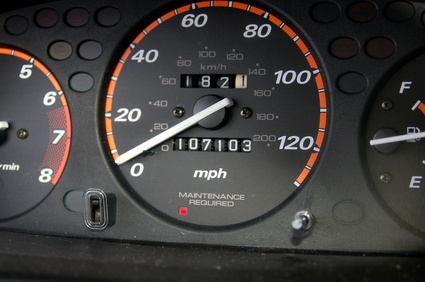
If a bulb has burned out in your car's console, it may seem impossible to access. On most vehicles, however, it's just a matter of removing a couple of screws and panels. As long as you're changing the bulb, consider replacing it with another color. Many auto parts stores have replacement bulbs in a variety of color options.
Remove the two screws that hold the instrument panel trim at the top of the panel with a small, Phillips head screwdriver. Place both hands on either side of the trim and firmly pull back towards the steering wheel to unclip and remove it. Check for more screws if the panel doesn't come off easily. Jiggling the panel trim to unhook it from its position may be necessary. Set the panel trim aside.
Remove the screws in the instrument panel. There are usually two at the top and two at the bottom. Pull the instrument panel out just far enough to access the wiring. Unplug the wiring from the side of the instrument panel by pulling gently on the electrical attachment; avoid pulling on any wires.
Pull out the instrument panel by maneuvering it past the steering wheel. Flip the instrument panel over and locate the light bulb to be replaced. Place your thumb and forefinger on the back of the light bulb and twist it 1/4 turn counterclockwise to remove it from the socket. Then pull the light bulb straight out of the socket.
Insert the new bulb into the socket, pressing it firmly into place. Insert the socket back into the instrument panel and twist it 1/4 turn clockwise. Reposition the instrument panel behind the steering wheel and into its original location. Reconnect the electrical attachment, pushing firmly to click it into place.
Reattach the instrument panel with the screws removed previously. Secure all the screws hand-tight in their respective holes. Check to make sure that the instrument panel is seated correctly then tighten all the screws with the screwdriver.
Reposition the instrument panel trim into place. Reinstall each of the screws at the top of the trim piece hand-tight. Check the alignment of the instrument panel trim then finish tightening the screws with the screwdriver.