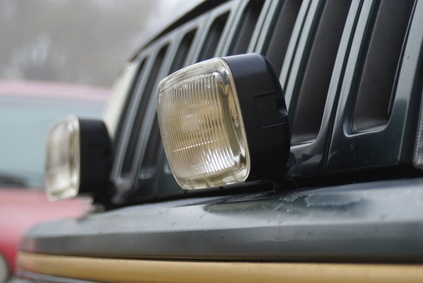
Safety is paramount when driving in hazardous weather such as fog, heavy rain and snow. Most drivers rely on their fog lights while driving in these inclement conditions. These lights, which cast a narrow, vertical swath of light on the road ahead, are generally found below a car's headlights. When turned on they make the car clearly visible to oncoming traffic, while allowing the driver to read road signs and see road divisions. When replacing fog lights, turn your wheels right or left, depending on which side you are working on, so you may reach the fog light assembly.
Check the owner's manual for how to remove the plastic cover under the front bumper. This may require you to unscrew the cover from the bumper. You will likely have to do this while lying underneath the car. Keep the screws within reach for when you will reassemble the fog light assembly and plastic cover. Depending on the make and model of the vehicle you may also have to remove the bulb from under the hood.
Locate the fog light assembly and then find the fog light electric connector. Remember to unplug the electric cord. Lift the connector's clip to remove the bulb from its housing.
Turn the bulb counterclockwise to pull it out of the fog light assembly. Avoid handling the bulb itself; if you do so, clean the bulb with rubbing alcohol.
Clip the new bulb into the connector's clip and rotate the bulb clockwise to secure it into the fog light assembly. Repeat the process on the other side. Afterward, test the fog lights to ensure that you have properly replaced them.