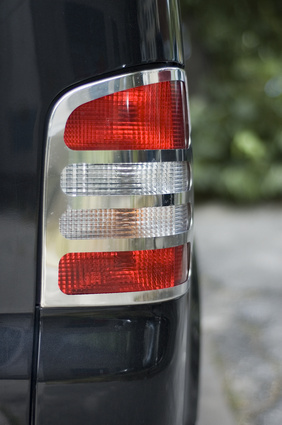
The brake lights on your car are designed to warn the drivers behind you that your car will be slowing down or stopping. Most GMC trucks come equipped with three brake lights--two lower rear lights and a roof brake light, sometimes called the "cyclops." The brake light switch completes a circuit that sends a manual signal to all the brake lights, activating them by the use of the brake pedal. Simply depressing the brake pedal sends the signal; releasing it turns them off. The brake light switch on the 94 GMC is accessible and can be replaced by the vehicle owner, if he knows what to look for and has a few simple tools.
Place the vehicle in a well-lighted area. After setting the emergency brake and with the vehicle in park or neutral, disconnect the negative battery terminal.

Open the driver's-side door and lie backwards on the floorboard, looking up at the location of the brake pedal lever (the brake pad is connected to the lower part of the lever). Use a flashlight or drop-light to see it clearly. Toward the top of the lever you will see the brake light switch, a small, plastic, rectangular box that rests against the brake lever. The area can be tight to work in, so gently push any wires or small harnesses to the side (tape them temporarily, if needed).

Remove the retaining clip that holds the switch to the brake lever (the small metal clip). You can use small prying movements with the slot screwdriver--the clip will slide free.
Disconnect the electrical connector (the small flat loom). Depress the connector at its base and pull straight out. Position it so it goes back in the same way.
Remove the switch by disconnecting it from the push rod. It will unsnap when you pull back on it. Place the new one on the small guide shaft; run it forward and snap it to the push rod. Reconnect the electrical connector by pushing it down until it seats. Refasten the retaining clip.
Depress and release the brake pedal several times while an assistant stands at the back of the vehicle and confirms that the brake lights are all functioning. Note: the small switch nipple that rests against the brake lever arm can be adjusted by depressing it hard until it clicks into another position. This adjustment controls the "throw" or length of travel.