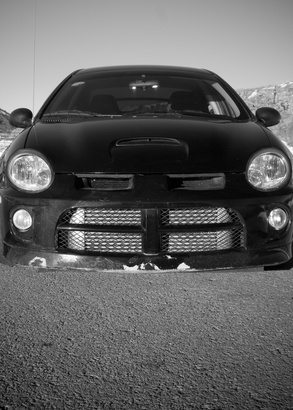
The only plastic molding on your car would be your rear and front bumpers. Normal wear and tear are usually noticed as scratches on the surface, but the bumper is also usually the first to get broken during an accident. So, if you need to repair holes and other damage to the bumper, buying the needed materials and making the repair yourself is your best option.
Wash the surface to prepare for the repair. Use warm water, soap, a soft sponge , then dry the area with a cloth.
Use sandpaper to remove any paint that was applied over the plastic. Keep sanding until the plastic is exposed.
Apply the adhesion promoter with an applicator, if it was provided, or a paintbrush.
Measure the size of the damage.
Cut the patch to be 1 inch larger, or more, than the size of the damage.
Use the heat gun or hair dryer to heat the patch until it becomes flexible.
Remove the paper backing, place the patch adhesive side down onto the bumper and mold it into the correct shape and size until the damage is fully covered.
Allow 24 hours of cooling and hardening time.