The ceiling upholstery in a car is called a headliner. It is a composite material that has a different face part and backing. The face fabric can be made from a variety of materials, including environmentally-friendly options. The backing is polyurethane foam that adheres directly to the roof of the car. Over time, this fabric and foam composite begins to sag; so if you want to keep your car looking its best, you may want to learn how to repair auto ceiling upholstery.
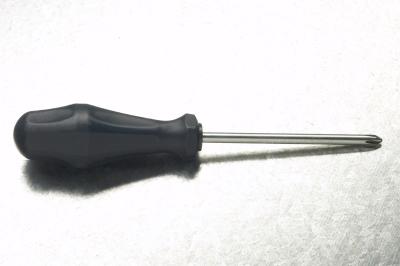
Remove all the elements from the car ceiling to access the upholstery. Remove the screws from the light fixture with a screwdriver to remove its cover. Also, remove the visors and hangers with a Phillips head screwdriver. Then remove the trim around the headliner of the car. You can do this by prying it off with a flat head screwdriver or by removing its screws first, for example, the trim around the pillar. Make sure to remove only the parts of the trim that are directly connected to the ceiling upholstery. Finally, remove the seat belt hardware or its plastic cover only, depending on the interior design of your car. If you need to remove the bolts, use a wrench.
Remove the headliner board once all the other elements are removed, lowered or taken off. The headliner board is as long as the car is wide so removal can be difficult. In order to take off the whole board, remove its trim first.
Peel off the old fabric from the headliner board. Because the strength of an adhesive weakens over time, the removal of the upholstery should be an easy task.
Check the headliner board for any adhesive or fabric residue. Treat its surface with fine sandpaper to remove any dirt and residue.
Remove the upholstery from the ceiling of the car, slowly and carefully peeling it off. Look for any problem areas, such as leaks from the ceiling or sagging upholstery around the various elements and on the sides. Be sure not to damage the fabric and foam combo because you will be placing the same material back onto the ceiling. If you bought new ceiling material, then simply concentrate on removing every last bit of the fabric and nothing else.
Clean the bottom side of your car roof now that it is completely bare. Use a wire brush and an abrasive sponge to remove all debris and dirt. Then use a fine sponge to make the area smooth and wipe it clean one last time.
Apply upholstery glue or adhesive by spraying it liberally over the ceiling surface.
Place the ceiling upholstery onto the car roof surface, making sure there are no air bubbles or wrinkles. Press with both hands to make the fabric and foam composite adhere firmly and securely to the surface. Pull the fabric to the sides to achieve maximum tightness and prevent any sagging.
Reinstall all the elements on and near the car ceiling.