The 1970 Oldsmobile 442 with a 455-cubic-inch engine can be considered a classic by today's standards--one of the coveted muscle cars. It uses breaker point ignition and a standard distributor to send the voltage spark to the plugs--a relatively simple ignition system, compared to today's electronic ignition packs. Only a few tools and precautions are needed to adjust the ignition timing for optimum operation. Proper ignition timing enhances performance, extends engine life, keeps the engine running at normal operating temperature and governs fuel consumption.
Search for the distributor near the rear of the engine. It bolts directly into the engine block next to the fire wall. Disconnect the vacuum advance hose from the distributor--the vacuum advance looks like a triangular diaphragm, and it has a small rubber hose connected to it. Plug the end of the hose with a small pencil or bolt. Take the main high tension wire between the coil and the distributor completely off the vehicle.
Move to the front of the engine and look down at the crankshaft pulley, also called the harmonic balancer. Reach down with a solvent rag and clean the pulley edges. You might have to rotate the engine to access other side. With this repair, have an assistant "bump" the starter to rotate the dirty side of the pulley up. Clean that part. Look for a notch on the end of the crankshaft pulley, by further starter-bumping, if necessary. Mark it with a piece of chalk.
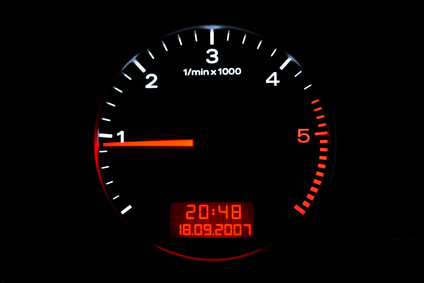
Search for the small metal notched scale on the engine housing. It will have graduated numbers marked in degrees. Look for the mark that indicates the exact timing number that your repair manual specifies. Mark the notch and your timing number with chalk. All 1970 Oldsmobile engines require a setting of 8 degrees BTDC (before top dead center) at 1,100 RPMs (revolutions per minute). The 365-horsepower and the 370-horsepower models require 8 degrees at 850 rpms. The 375-, 390- and 400-horsepower models all require 12 degrees at 1,100 rpms.
Replace the high-tension wire to the coil and distributor. Loosen the locking plate that holds down the distributor, only enough to where the distributor rotates snugly. Hook up the timing light by connecting its lead to the number 1 cylinder plug wire. As you face the engine, the number 1 cylinder is the first one on the right.
Start the car with help from an assistant and bring the engine up to the correct speed, or hook up a hand-held tachometer and watch it from the engine compartment. Aim the timing light down at the timing mark. Move the distributor either direction to line up the marks. Once you have them aligned, shut the engine off. Reconnect the vacuum line and tighten down the distributor bolt. Remove all gauges.