The Toyota Celica model cars that were built before 2000 came equipped with more than one engine accessory belt. The Toyota Celica models that were built after 2000 came equipped with a serpentine belt. The alternator belt on the Toyota Celica is driven by the crankshaft pulley. When the Toyota Celica is running, the crankshaft turns the alternator belt around the alternator pulley. This process makes it possible for the alternator to be able to operate. Replace the belt immediately whenever there is excessive cracking on the belt.
Open the hood on the Toyota Celica and secure it in place.
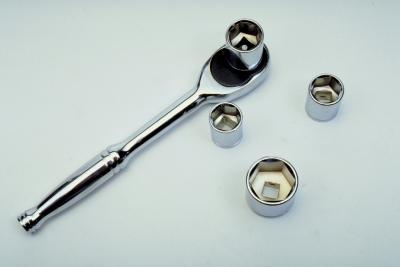
Locate the alternator on the front, driver side of the engine. Loosen the top pivot bolt on the top of the alternator bracket with the 1/2-inch drive ratchet and a socket.
Locate the lock nut on the adjustment bracket below the alternator pulley. Loosen the lock nut with the ratchet and a socket.
Locate the adjustment bolt on the end of the adjustment bracket. Loosen the adjustment bolt counterclockwise until the belt is loose.
Pull the belt out of the alternator pulley and the crankshaft pulley. Then, route the belt around the blades on the fan and out of the engine area.
Route the replacement belt around the fan blades and into the crankshaft pulley and the alternator pulley.
Turn the adjustment bolt clockwise until the replacement belt is properly tight. To check the tightness of the belt, press down on the belt with the palm of your hand. If the belt has over 1/2-inch of slack in it, it will need to be tightened more. A properly tightened drive belt should have no more than 1/2-inch of slack.
Tighten the lock nut tight on the front of the adjustment bracket with the ratchet and socket.
Tighten the top alternator bracket pivot bolt tight with the ratchet and socket.
Crank the Toyota Celica and let the engine run for 30 seconds. Shut the engine off and recheck the tension of the belt. Close the hood.