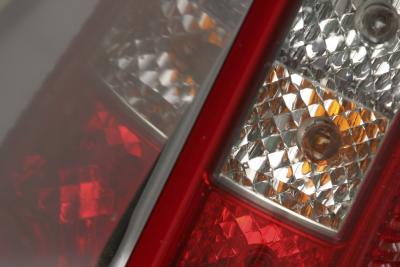
Turn signal bulbs burn out over time and require replacing. Damage to the bulbs other than natural wear occurs most often from a water leak. This can happen from a bad seal or from road debris hitting and cracking the turn signal lens. Heavy rains and even power washing your Eclipse allows water to pool inside the turn signal lens and eventually burn the bulb out. You can change the turn signal bulbs at either the front or rear of the Mitsubishi Eclipse right at home. With a few tools, the repair should take you 15 minutes to do.
Raise the hood on the Eclipse and remove the negative cable from its post on the battery with a socket wrench. Before you let the cable go, use a roll of electrical tape to wrap the terminal at the end of the cable.
Leave the hood open for now, proceed to the rear of the car, and open the trunk. On the license plate wall, you should see a curved rectangular piece of trim panel.
Lift the three retaining tabs up on the bottom of the rectangular trim panel and then push the single retaining tab down on the top of the trim panel. Pop the trim panel out of its position to reveal the rear of the tail light assembly. There will be three light sockets; the turn signal bulb is connected to the socket in the center.
Remove the turn signal socket by grasping it and rotating the socket counter-clockwise. Pull the socket and bulb away from the tail light assembly carefully. Remove the bulb from the socket by slightly pushing down on it and rotating it to the left, then pull the bulb straight out of the socket.
Put on a pair of latex gloves. Hold the new bulb in one hand and place a dab of dielectric grease on the contacts at the bottom of the bulb. Insert the new turn signal bulb into the socket and push down on it while rotating it to the right to lock it in place.
Insert the bulb back through the tail light assembly and rotate the socket clockwise to secure it in position. Place the trim panel back in place over the tail light assembly and engage its retaining tabs. Repeat these steps to replace your other rear turn signal bulb if needed.
Reach down on the outer side of the headlight assembly from within the engine compartment and remove the turn signal socket. Rotate the socket counter-clockwise and withdraw it from its lens.
Remove the front turn signal bulb by pushing down on it and rotating the bulb to the left, then pull the bulb out of the socket.
Put on the latex gloves. Place a dab of the dielectric grease on the contacts of the front turn signal bulb and then place the bulb back into its socket. Lock the bulb in position by pushing down on it and rotating it to the right.
Insert the front turn signal bulb carefully back through the lens hole and then turn the socket to the right. To replace your other front turn signal, repeat this process.
Remove the electrical tape from the negative battery cable once you’ve finished the repair and secure the cable back to the battery.