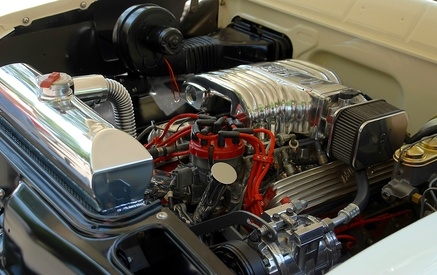
When your car is low on oil, there is a sensor (sometimes called a switch, as well) that will light up an indicator inside the car to inform you of the low oil level. In some cases, checking the dipstick will show that there is actually oil present, which can be confusing and frustrating because it contradicts the sensor. If this happens to be the case, more than likely the oil pressure switch/sensor is malfunctioning and will need replacing. With a little bit of skill, you can learn to replace the sensor yourself.
Locate the oil pressure switch, which is either behind the distributor or on the driver side of the block in the lower right hand corner between the header and the oil filter. Look closely at what parts surround the sensor. Remove the parts that are in the way and look for the sensor. If you do not know how to remove these parts, consult your owner's manual for further information.
Locate the rubber dust boot on the connecting wires and pull it away. The dust boot is an accordion shaped cover that keeps dust from getting in between joints and shafts. Push in the tab that is holding the connector in place and unplug the wires or wire harness. Clean all the contacts if desired or necessary.
Remove the new sensor from the packaging and place it somewhere accessible. Loosen the old sensor using an open-ended wrench or extended handle, if space is limited. Pull out the old part, having a rag handy to plug the socket in case oil pours out.
Reverse the steps to install the new sensor and plug the wire or wire harness into place. Ensure that the part is snug but not too tight. Before putting other parts back, check to make sure the new sensor works properly by starting your engine and checking the light. If the light is still on, check the connections of the wires and ensure that they are properly secured. If the light does not come on, replace all parts that were removed during the sensor installation.