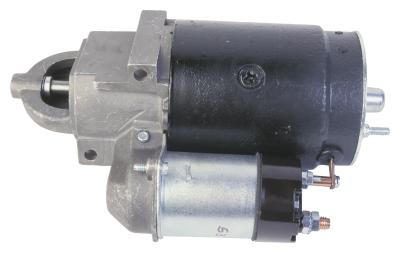
Chevrolet began installing the 350 small-block engine into its vehicles in 1968. Unlike other automobile manufacturers, which used a remote starter solenoid, the 350’s solenoid and the starter motor are a single unit. Over time, the teeth of the starter’s drive gear tend to round off, making turning the flywheel to start the engine difficult. The solenoid allows the power from the battery to reach the starter. A defective solenoid will therefore not allow the starter to activate. Fortunately, installing a replacement starter on a 350 Chevrolet is simple.
Disconnect the battery’s ground cable with a wrench.
Raise the vehicle to a working height with a jack then support the vehicle with safety stands.
Note the location of each wire which connects to the solenoid, then loosen the nut which secures each wire in place with a wrench and pull the wires off of the starter.
Remove the starter’s two mounting bolts with a wrench then lower the starter from the vehicle.
Insert the replacement starter into position against the transmission’s bell housing, then hand-tighten the starter’s two mounting bolts. Tighten both bolts to 25 to 30 foot-pounds of torque with a torque wrench.
Slide the metal loop at the end of each starter wire onto its respective threaded rod then tighten each wire’s nut onto the metal tip of the wire with a wrench.
Raise the vehicle with the jack and remove the safety stands, then lower the vehicle to the ground.
Connect the ground cable at the battery with a wrench.