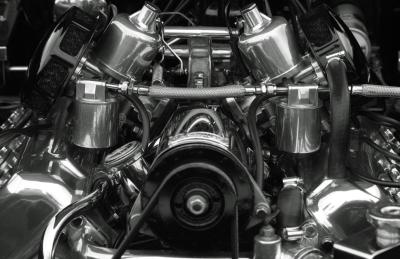
Replacing the timing belt on a 2.0-liter Volkswagen Jetta or Golf, or any vehicle for that matter, is a difficult operation. The engine and the sprockets for the timing belt must be set precisely during removal and installation, including the engine's No. 1 cylinder at the top down center (TDC) position. There are also numerous components you must remove to access the belt. You should at least check with your mechanic first and seek professional service if possible.
Relieve the fuel system pressure--remove fuse No. 28 from the fuse box, start the engine, look for it to stall and crank it for another three seconds.
Drain the engine coolant into a large container by removing the drain fitting at the radiator with pliers. Disconnect the coolant reservoir's hoses, and unbolt and remove the reservoir.
Disconnect the fuel return and supply lines and the vacuum hose for the leak detection pump by loosening their hose clamps. Mark the hoses so you can reinstall them correctly later.
Remove the spark plugs--pull out each spark plug wire by the boot, and remove the plugs with a ratchet and spark plug socket.
Remove the drive belt by turning the tensioner with a long 15 mm wrench to relieve the tension.
Unclip and remove the upper timing belt cover from the engine.
Apply the parking brake, and block the rear wheels. Raise the car's front end, supporting it on jack stands, and remove the right front wheel.
Take off the engine under-cover and the lower fender apron.
Rotate the engine clockwise with a breaker bar and socket until the No. 1 cylinder is at top down center and the camshaft sprocket mark aligns with the mark on the rear timing belt cover.
Loosen the crankshaft drive sprocket's retaining bolt and the crankshaft pulley bolts; hold the pulley with a strap wrench as you do this to keep it from turning. Remove the crankshaft pulley.
Raise a jack with a block of wood on it underneath the engine to support it, then remove the passenger-side engine mount. Unbolt and remove the passenger-side engine mount.
Detach the center and lower timing belt covers by removing their bolts.
Release the timing belt tensioner by loosening the retaining nut and letting the tensioner rotate. Remove the timing belt.
Loop the new timing belt under the crankshaft sprocket and engage the belt teeth within the sprocket. Maneuver the belt into position on the idler pulley, water pump and camshaft sprocket, then install it around the tensioner.
Tension the belt by using snap-ring pliers to turn the tensioner counterclockwise until the upper marks align; make sure all the belt's slack is at the tensioner roller before you do this. Tighten the tensioner lock nut to 15 ft-pounds.
Rotate the crankshaft two complete turns. Reset the No. 1 cylinder to the TDC position, and check the alignment marks again. Adjust the timing belt tension if needed.
Reinstall the lower and center timing belt covers, followed by the engine mount support bracket and passenger-side engine mount; use new bolts with the mount.
Install all other components in reverse order of removal--the upper timing belt cover, drive belt, spark plugs, fuel and vacuum lines and coolant reservoir. Refill the engine coolant, and reconnect the fuel pump fuse.