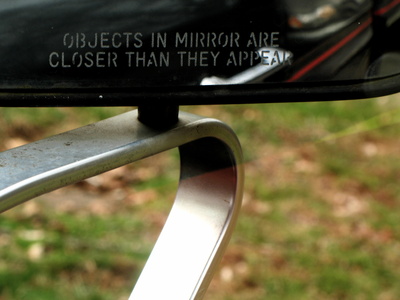
Nissan Altimas have two types of mirrors: those mounted over the dashboard and the side rear view mirrors on the doors. If the mirror becomes damaged, replacing each type is a matter of the right tools and materials to do the job right. However, when working with any kind of glass, use proper safety precautions. Although it’s “just a mirror,” gloves and safety glasses will keep a slip-up from causing real injury from a broken mirror.
Removing the windshield mirror is rather simple. A setscrew holds the mirror to a bracket. Turn the set screw counterclockwise far enough to free the mirror bracket. No need to completely back out and remove the screw. Leaving it in place assures it won’t be lost later. Slide the mirror up and off the bracket. Mirrors with power accessories such as map lights and auto dimming will have a wire connection. Unclip the wire and the mirror is free.
Removing the side mirror is a little more tricky. Use the power mirror control to maneuver the mirror up as far as it will go. This will open a small gap between the mirror and the mirror cowl (the housing.) Behind the mirror is a pinion bracket attached to the motor for turning the mirror in all directions. On the bottom is a setscrew. Turn counter clockwise and the mirror will come loose. Remove by lifting up and out.
Installation for each mirror is the same process, only in reverse. For the windshield mirror, first connect the power cord. Then slide over the bracket and tighten the setscrew. Test the map light to make sure the power connection is correct.
For the side-view mirror, install the new mirror on the pinion bracket and turn the setscrew clockwise until tight. Turn the ignition key to “accessory” and test the new mirror to ensure it moves properly in all directions.
If the side-view power mirror assembly is damaged, replacing the entire unit is necessary. This takes more labor but it not that much more difficult. Remove the door handle and door panel. Do this by checking underneath the door and the handle for all screws. Remove the screws and then the door handle. Disconnect the wires to the power controls.
The mirror assembly is a bundle of wires leading from the door handle through the door to the mirror. Remove the clips holding the wire bundle and then unscrew the mirror bracket on the door. Pull the wires forward and free the unit from the door.
Replace the mirror unit by doing the same procedure in reverse: insert the wires and channel the bundle to the correct position, screw the mirror assembly to the door, reconnect the power controls to the door handle, and install the door panel and door handle.