Adjusting the timing belt tensioner on your car requires following a series of ordered steps. However, the crankshaft and camshaft sprockets must be set in their correct position before installing the timing belt (see the Warning for more information). This will ensure that the pistons, valves and the rest of the engine systems in your PT Cruiser are synchronized and work properly.
Make sure the mark on the crankshaft sprocket is aligned with the arrow on the oil pump housing directly behind the crankshaft sprocket. This is your cylinder number one top dead center position (TDC). If not, align the marks by turning the sprocket clockwise using a breaker bar and socket.
Make sure the timing marks on both camshaft sprockets are exactly facing each other.
Turn the exhaust camshaft sprocket (the left sprocket) clockwise using a breaker bar and socket, just enough to bring the mark on the exhaust sprocket 1/2-inch lower than the mark on the intake camshaft sprocket on the right.
Route the timing belt through the sprockets starting at the crankshaft, then the water pump sprocket, idler pulley, camshaft sprockets and tensioner.
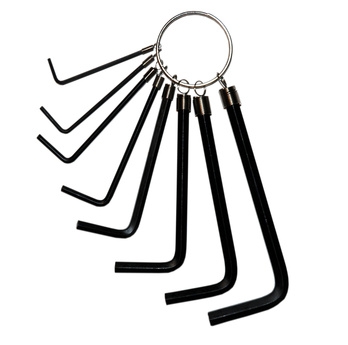
Insert a 6-mm Allen wrench in the opening provided on the top plate of the tensioner pulley.
Turn the top plate counterclockwise using the Allen wrench. This will rotate the tensioner pulley against the timing belt.
Watch for the setting notch on the top of the tensioner pulley. When the setting notch aligns with the slot in the raised tab located over the tensioner pulley, stop turning the top plate but hold it in position with the Allen wrench.
Torque the lock bolt in the center of the tensioner pulley to 220 inch-pounds (25 Nm) using a torque wrench. Make sure the setting notch stays aligned or visible through the slot in the raised tab, then remove the Allen wrench.
Rotate the crankshaft clockwise two complete revolutions using the breaker bar and socket, and bring the crankshaft back to TDC.
Make sure the mark on the crankshaft sprocket is aligned with the mark in the back cover, the camshaft sprocket marks are facing each other and the setting notch is visible through the slot in the raised tab. Otherwise, remove the timing belt and repeat Steps 1 through 9.