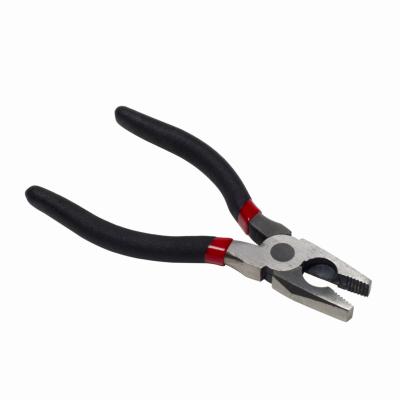
Automotive windshields are held in place with a rubber gasket or seal as well as a metallic or rubber molding strip that can deteriorate and require replacement. Removal of the windshield is usually not necessary but may require special tools. The average backyard mechanic can secure the glass and replace the molding in about a half-hour.
Secure the suction handle to the windshield glass by pressing the suction cup to the glass and turning the handle or pushing on the vacuum button. The suction handle should be centered as much as possible while still allowing firm control from one side when the glass is removed.
Remove the center windshield clip at the bottom center of the glass, which holds the molding together by the ends. Pry the clip out of the gasket, and slide it from one end of the molding, then the other.
Remove the molding strip by pulling on one end until it comes out of the rubber gasket. Continue pulling on the molding until it pulls out, around the windshield, back to the center starting point. When it comes out, the rubber gasket holding the glass in may become loose, but should not release the windshield. Have a hand on the suction handle just in case.
Install the new molding by pressing one end into the bottom center of the windshield gasket, then pushing the molding into the gasket's groove all the way around the windshield. The gasket tool can assist you with pressing the molding deep into the groove, seating it properly. Work the molding in slowly, and take your time; being too quick with the molding could damage the gasket, the glass, or both. As the molding seats, use the suction handle to gently nudge the glass back and forth, giving the room for the molding to fit.
Once the molding makes it back around to the center bottom of the windshield, slide the clip onto one end. Lock it onto the other end of the molding strip, and press the clip firmly into the gasket. Use the gasket tool to work the clip in deeply. Remove the suction handle from the windshield.