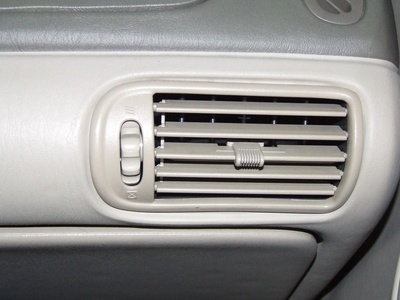
The mounting and installation design of the heater core on the Oldsmobile Bravada went through a couple of redesigns through the 1990s. Its most practical configuration came in the 1994 to 1997 models with the incorporation of the instrument panel carrier. Oldsmobile redesigned the interior structural assembly for later models, making it harder to gain access to the heater core.
After draining the cooling system, disconnect the heater hoses from the heater core tubes sticking out through the firewall inside the engine compartment. The rest of the job should be done from inside the cabin of your Bravada.
The easiest way to gain access and remove the heater core is to unfasten and tilt the whole instrument panel. For this, you will need to unfasten and move the steering column down, away from the instrument panel. Then unscrew all the mounting bolts along the top and bottom of the instrument panel.
When ready, tilt the whole instrument panel downward to gain access to the heater housing from the top. From here, you will be able to reach the rear heater case to unfasten the screws. This will give you access to the heater core. The core is secured by a strap at each side. Once you unscrew the retaining straps, you can remove the heater core and seals.
Drain the cooling system, detach the heater hoses from the heater core fittings at the firewall inside the engine compartment, and remove the instrument panel assembly. From here you will have access to the air inlet assembly. As you work your way into the heater core, tag vacuum connectors, lines and components as you see necessary for easy reassembly.
Start to remove the air inlet assembly by disconnecting the vacuum connectors, retaining studs and vacuum lines. Once you remove the assembly, remove the heater assembly studs from the engine compartment.
From the cabin of your Bravada, unplug the blower-motor resistor electrical connector, unscrew the motor resistor mounting bolts and remove the resistor. Once you move the resistor out of the way, you will notice a stud inside the heater core housing, which you should remove now. From here, all you have to do is unfasten the rear heater case screws to gain access to the assembly and the heater core for removal.
Before beginning the disassembling process, take your Oldsmobile Bravada to an approved facility and have it discharge the air conditioning system. Then, back in your garage, after draining the cooling system, remove the coolant-recovery reservoir, detach the hoses from the heater core at the firewall and remove the instrument panel.
Working from outside the cabin, you can remove the cowl and pull the washer fluid lines off the hood sprayers. Now you can proceed to removing the hood. First, make an alignment mark at the hood hinges, unplug the underhood lamp and remove the hood, antenna and powertrain control module.
Now you can remove the passenger-side fender and driver's side headlamp. If necessary, tag electrical connections you need to unplug using masking tape to facilitate reassembly. Once you remove the fender, remove the battery, battery tray and the wheelhouse panel.
To gain complete access to the heater box, disconnect the A/C lines from the evaporator using a line wrench to prevent damaging the lines' retiming nuts. Then unscrew the heater box shield and move it aside. Now, working from the engine compartment, unfasten the heater core mounting hardware. From inside the cabin, pull the mounting bolts away.
Ask an assistant to carefully pry back on the heater box and remove the evaporator housing assembly, while making sure the mounting stud(s) clear the firewall.