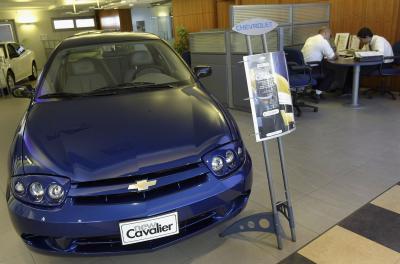
A stuck or broken power window can be a real nuisance, and is something that is better repaired quickly then put off for a later time. Thankfully, replacing the power window motor in your Chevy Cavalier is an inexpensive repair that can be tackled at home without the need to make an appointment at a body shop or pay expensive repair fees. The replacement motor can purchased quite cheaply, and the repair itself requires minimal auto knowledge and only a few simple tools.
Remove the inner door panel by loosening all screws holding it to the door frame and gently prying it off. The screws will be located around the perimeter of the door.
Disconnect the electrical connections running to the door panel by unclipping the wire harnesses for the window switch, the speaker, and the security system if applicable. The door panel can now be set aside.
Disconnect the wire harness connected to the broken window motor.
Unbolt the broken window motor from the door frame and window regulator, and remove the motor from its mount.
Install the replacement window motor into the proper mounting position and bolt in place. Bolt the motor to the window regulator arm.
Connect the wire harness to the new window motor.
Reconnect all electrical connections to the inner door panel and reinstall the panel to the door frame with screws.