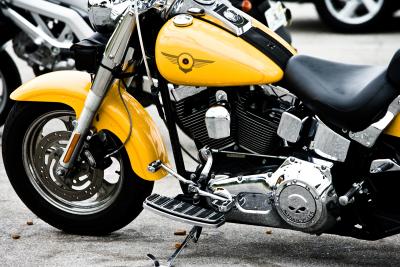
Modern motorcycle forks absorb shock and dampen rebound to help maintain control of the bike. A large spring runs down the length of the fork tube and into the lower leg. This spring bears on the fork cap and the lower leg to support the weight of the bike at rest and absorb the fork compression due to braking and bumpy road conditions. Hydraulic fluid and an internal damper mechanism help to control the rebound and preserve the contact patch between the front wheel and the road surface. With time, the bushings inside the forks wear and become slack and must be replaced. Once you have removed the forks assembly, you can rebuild it.
Put on safety glasses, then remove the drain plug and gasket with a socket and ratchet or Allen/Torx driver from the lower leg over the drain pan. Rest the bottom of the lower leg in the pan, and compress the fork repeatedly with hand pressure to pump the old fluid from the fork.
Firmly grasp the fork tube with a clean shop rag near the top, and break the torque on the fork cap with a socket and the 1/2-inch drive ratchet. Slowly remove the cap from the tube, and hold strong downward pressure on the cap as it approaches the last few threads, as the cap will be under some pre-load from the fork spring. Allow the spring to unload and expand, pushing the cap off and protruding from the fork. Pull the spring from the fork by hand, then place it in the drain pan to allow it to shed any old fluid.
Remove the damper retainer bolt from the bottom of the lower leg with an Allen or Torx driver. Remove the rubber boot from the fork/lower leg joint by hand. Remove the snap-ring from the top of the lower leg, using the snap-ring pliers.
Remove the lower leg seal from its recess in the top of the lower leg, using the seal puller. Slide the fork tube from the lower leg. Inspect the fork tube for scoring or galling, and replace it if damaged or bent. Remove the fork tube bushing from the bottom of the fork tube by wedging it open with a flat-tip screwdriver, then sliding it off the fork. Install the new fork tube bushing onto the fork tube.
Insert the slide-hammer into the lower leg, and engage the fingers under the shoulder of the lower leg bushing. Slide-hammer the bushing up and out of the lower leg. Tap the new bushing into the lower leg carefully with a hammer. Place the new lower leg seal into its recess, and drive it in with a hammer.
Slide the fork tube back into the lower leg. Reinstall the damper retainer bolt in the bottom of the lower leg, and torque it to factory specifications for your model of bike with the torque wrench and an Allen driver. Install the new lower leg snap-ring, using the snap-ring pliers. Snap the rubber boot snugly into position at the top of the lower leg by hand.
Clamp the fork tube in the bike's triple-clamp with a ratchet and Allen driver. Replace the lower leg drain plug gasket and plug, using a socket or Allen driver, and torque it to factory specification.
Add the appropriate amount of new fork fluid through the top of the fork tube. Install the new O-rings on the cap, then insert the fork spring into the fork and place the cap on top of it. Compress the spring with hand pressure until you can engage the cap in its threads. Thread the cap on fully, and torque it to factory specifications for your model of bike with the 1/2-inch torque wrench and socket.