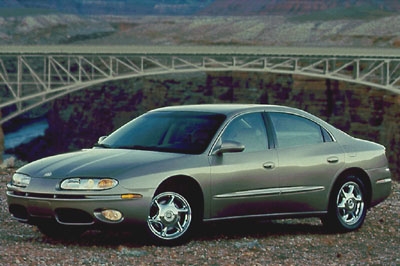
The Oldsmobile Aurora was manufactured with a 12-volt alternator generator charging system, coupled with a negative-ground battery. This system is designed to provide electricity to the primary ignition system while recharging the battery and secondary accessory subsystems. The Aurora's alternator can wear out and require replacement; the average backyard mechanic can replace this alternator in about 30 minutes.
Disconnect the battery by turning the positive terminal bolt in a counterclockwise direction. The terminal can be set aside, as long as it does not touch the battery or vehicle frame.
Remove the radiator fan shroud, fan and radiator by turning their bolts counterclockwise and disconnecting the electrical connections. The coolant must be drained before removing the radiator by loosening the drain plug on the bottom left corner of the radiator frame. The hoses are held on with pinch-style hose clamps that can be gripped with a pair of pliers and slid back on the hose for removal. Once freed from the hoses, the radiator can be unbolted from the top mounts and slid out of the frame toward the top.
Uncouple the power steering pump hoses with a line wrench by turning the bolt in a counterclockwise direction. The hoses can be set aside. Some fluid may drain out into the drain pan.
Firmly press against the tension pulley to loosen the primary drive belt. This pulley is located on the right side of the engine as the Aurora uses a transverse-mounted motor.
Slide the primary drive belt off of the alternator pulley wheel and release the tension pulley. The belt will try to fall, as there is too much slack, but it can be propped up to retain its path through the other accessory pulleys.
Unbolt the alternator's two top bolts with a socket wrench. It may be necessary to use a universal joint socket because of the tight clearances.
Remove the alternator's third bolt from underneath the vehicle by turning it in a counterclockwise direction.
Disconnect the primary positive charging wire from the alternator's output terminal by loosening the nut in a counterclockwise direction.
Manipulate the alternator out of the engine compartment, taking care to not bump or harm any engine components in the process. The alternator can be worked out of the mount, then wiggled free toward the top of the motor.
Replace the alternator by positioning it into the mount, then securing the charging terminal by tightening the nut in a clockwise direction. Tighten the bottom mount bolt first, then the two top bolts to secure the alternator.
Replace the primary drive belt by pressing firmly on the tension pulley and sliding the belt onto the alternator's pulley wheel. It should seat into the grooves on the wheel and should become tight when the tension pulley is released.
Replace the power steering pump hoses and refill the power steering pump fluid to the proper level.
Replace the radiator, fan and fan shroud by securing the radiator into the frame and tightening its mount bolts. Connect the hoses and electrical fan connections. Refill the coolant system to the proper level.
Reconnect the battery's main positive terminal by turning the bolt in a clockwise direction.