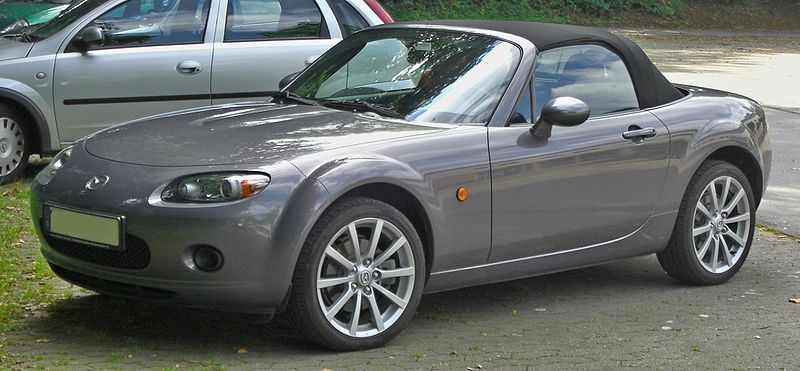
The Mazda Miata has been a popular car since its introduction in 1990. Removing the seats from the car can be done by almost anyone. The process to remove the seats from the vehicle is basically the same no matter which model year the vehicle is (earlier models may not have an air bag module to disconnect).
The Miata has four bolts per seat that you will need to remove prior to taking the seat out. You will need a socket wrench set with several head sizes to remove the bolts. Place the socket wrench head on the bolts until you can find the one that fits properly.
Slide the seat back as far as the track will allow you to. The front bolts must be removed first because they are near the air bag terminal. Using the socket wrench, turn the bolts counterclockwise to release them. Make sure you keep the bolts in a safe place, because you will need them to reinstall the seat or replace it.
Disconnect the air bag terminal that is directly underneath the front of the seat. Squeeze the outer clip of the terminal to release its lock, and pull the connector from its base.
Slide the seat as far forward as it will go. You need to have sufficient room to access the rear bolts. Remove the rear bolts in the same fashion.
If the bolts are too tight to loosen (common with older vehicles), lightly spray penetrating oil (such as PJ Bolt Buster) around the base of the bolt, and let it set for a few minutes.

Removing the seat can be difficult with the top up, because of the Miata's small size. It is recommended to lower the top and open the door as wide as possible to make seat removal easier. You need to be careful when pulling the seat out because the hardware can easily scratch the interior or exterior of your vehicle.
Grasp the seat on the side of each bolster, placing your hands over the hardware and the bottom seat cushion. With the bolts removed, the hardware can easily slide away from the seat. Pull the seat straight up over the deck line of the vehicle and place it nearby.
