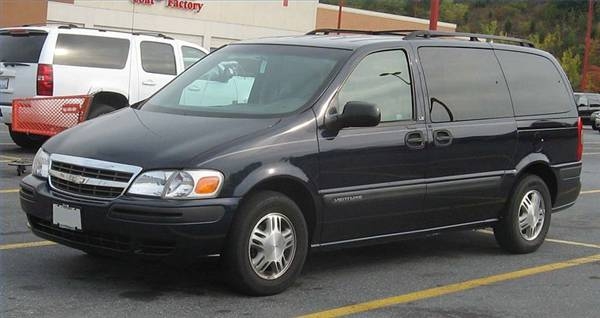
The cooling system of your Chevy Venture van uses a simple thermostat to regulate and maintain engine temperature. The thermostat allows the exchange of high and low temperature coolant between the engine and radiator. However, the thermostat components may wear down over time and stop operating. This will cause the engine to operate over or under the recommended temperature, which may cause major damage and costly repairs. Fortunately, replacing the thermostat on your Venture model is an easy process.
Place a catch pan under the drain valve of your Venture radiator.
Open the radiator valve and drain at least 2 quarts of coolant. Then close the drain valve.
Remove the air cleaner and duct assembly from the top of the engine to gain access to the thermostat housing. Use a screwdriver and a ratchet and socket if necessary.
Disconnect the crossover exhaust pipe using a ratchet, ratchet extension and socket.
Follow the upper radiator hose towards the engine to locate the thermostat housing.
Disconnect the upper radiator hose from the thermostat housing. Use a pair of rib joint pliers to loosen the clamp, and then slip it off the thermostat housing towards the radiator. Other Venture models may use a worm clamp type, which you can remove using a standard screwdriver or ratchet and socket.
Remove the upper radiator hose from the thermostat housing by carefully twisting and pulling the hose off the fitting.
Unscrew the two mounting bolts from the thermostat housing using a ratchet, ratchet extension and socket. Detach the thermostat housing from the engine.
Note the exact position of the thermostat so that you install the new one the same way. Then remove the thermostat and gasket.
Apply a light coat of room temperature vulcanizing (RTV) sealer to the threads of the thermostat housing bolts.
Set the new thermostat and new gasket in place.
Set the thermostat housing in place and start the two mounting bolts by hand. Then tighten the bolts using the ratchet, ratchet extension and socket.
Connect the upper radiator hose to the thermostat housing.
Tighten the upper radiator clamp over the thermostat housing using the rib joint pliers, standard screwdriver or ratchet and socket.
Connect the crossover exhaust pipe using the ratchet, ratchet extension and socket.
Install the air cleaner and duct assembly using the screwdriver or ratchet and socket.
Add coolant to the radiator using a 50/50 mixture of distilled water and anti-freeze.
Start the engine and check the upper radiator hose and thermostat housing for leaks.