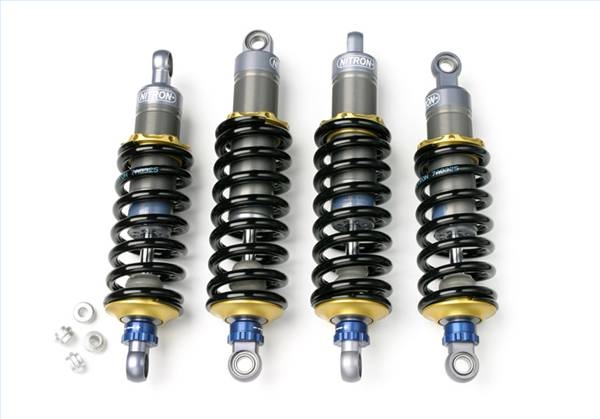
You should inspect your shocks at 60,000 mile intervals to determine if they should be replaced or not. If your tires are wearing unevenly, your suspension "slams" down when you go over bumps, or, if you walk to all four corners of your car and can push down and the car continues to bounce up and down rather than coming up once to its original height - it's time to replace your shocks. You can change the shocks on a Honda Passport with a few simple tools. While there is nothing difficult about how to change the shocks, you must to it with care.
Park your Honda Passport on a level surface, turn off the car and engage the emergency brake. Place wheel chocks under the opposite set of wheels then the ones you will be working on (i.e. if you are replacing the shocks on the front tires, put the chocks behind the back). This will prevent the car from rolling.
Using the tire iron, break the lug nuts free on the first tire. If they do not turn easily, put the iron on the lug and step on the handle of the tire iron. Be prepared, when they break free the tire iron will fall and so could you.
Raise the car using the car jack and place jack stands underneath to catch the weight of the car and replace the car jack.
Remove the lug nuts and pull the tire of the car. Set it aside.
Grab the body of the shock on your Honda Passport and slide your hand down the tube until you can feel where it is attached to the suspension. Select a socket that fits the nut locking the shock in place and remove the nut. Slowly push the bottom of the shock off the bolt. Once the shock is off the bolt it will expand to its full length.
Using your socket set again, remove the upper nut securing the top of the shock to the car. On the front shocks, the bolt will be in a mirror position as the bottom one. On the rear shocks, you may have to open the trunk to remove the nut which will be threaded on the vertical bolt coming off the top of the shock and passing through the frame of the car. Remove the shocks.
Lightly grease the bottom holding bolt on the suspension frame. Slide the bottom of your new shock onto the bolt.
For front shocks, grasp the top of the shock body firmly and pull down, using a constant pressure to the shock body. Cut the plastic tie holding the shock closed and control the expansion of the shock upwards and guide the shock over the bolt on the frame. Add several drops of Loc-Tite to the threads of the bolts and reattached the nuts.
For rear shocks, grasp the upper body of the shock and cut the plastic tie holding the shock closed. Allow the shock to expand and guide the top of the shock (with its built in bolt) through the receiving hold of your Honda Passport's frame. Add several drops of Loc-Tite to the threads of the bolts and reattached the nuts.