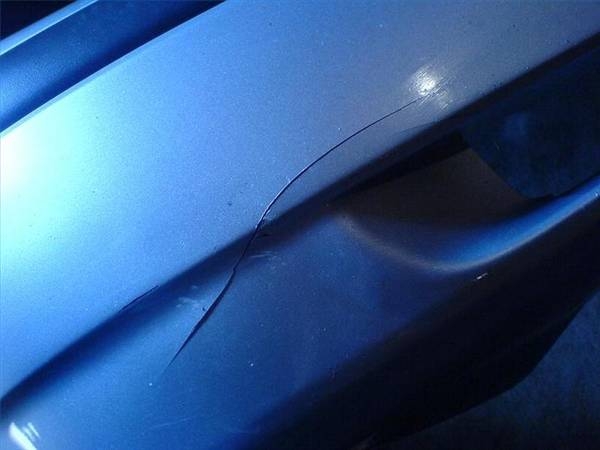
Plastic auto bumpers seem to nearly always develop small cracks, even if they have not been involved in an accident. You've thought of replacing the whole bumper entirely, but it's an expense you'd rather not tackle. However, with a tool as simple as a soldering iron, you can easily and quickly repair the bumper yourself.
Plug in a soldering iron to let it begin heating up.
Clean the surface all around the crack, using a cleaning rag and soapy water. This will help the fix become more sturdy and to keep it free from being contaminated with dirt and other debris. Allow the surface to dry fully before continuing.
Use the soldering iron to melt both sides of the crack back together gently. Try to penetrate quite deeply into the bumper, as this will make the crack hold better. Work from side to side, pulling plastic from either side of the crack, into the gap.
Let the plastic cool for several minutes.
Use ultra-fine sandpaper to rub out any bumps that may have been created from the fix and to smooth and polish the surface.