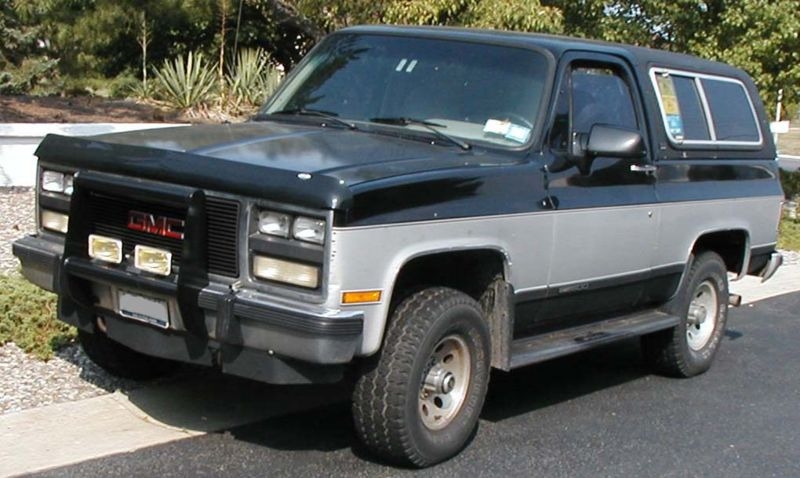
The electric fuel pump on your Chevy Blazer is an efficient component, providing almost instant flow and pressure to the system. However, worn parts or failed electronic components can make pump replacement necessary, which requires lowering of the fuel tank--a much easier job with the aid of a helper. Once you have the fuel pump replacement for your particular model, you can get the job done.
Park your car in a safe and level place and open the hood.
Relieve the fuel system pressure: On 1995-1997 2.2L engine models, remove the fuel-pump relay from the fuse block located in the engine compartment, then start the engine and let it stall. On other models, wrap a shop rag around the Schrader valve located on the inlet fuel line of the fuel rail, right before the first fuel injector--the valve is similar to an air valve on a bicycle tire. Depress the small stem inside the valve using a small standard screwdriver to free the fuel from the line.
Disconnect the black, negative battery cable.
Raise the rear of the vehicle using a floor jack and safely support it on two jack stands.
Disconnect the filler hose form the tank by removing the hose clamp using a Phillips screwdriver or ratchet and socket. Remove the fuel tank shield using a ratchet and socket.
Support the fuel tank with the floor jack and remove the tank-mounting straps using a ratchet, ratchet extension and socket.
Lower the tank carefully, just enough to disconnect the two fuel hoses and vapor hose from the sending unit/pump assembly on top of the fuel tank.
Press the lock tabs on the hoses connectors, and pull the hoses from the assembly fittings. Unplug the fuel-pump electrical connector and lower the tank to the floor.
Remove the lock ring from the sending unit/pump assembly using a drift punch and hammer. Carefully rotate the lock ring tabs counterclockwise with the drift punch and hammer until the ring is free from the assembly.
Lift the sending unit/pump assembly off the tank and out of the vehicle.
Make sure the pump filter is in a horizontal position and does not interfere with the movement of the sending unit float arm, then install the sending unit/pump assembly into the tank using a new O-ring between the assembly and the tank.
Secure the assembly by turning the locking ring clockwise with the drift punch and hammer.
Raise the fuel tank enough to connect the fuel and vapor hoses and plug the pump electrical connector.
Install the tank-mounting straps and tank shield, and connect the filler hose to the tank.
Lower the vehicle and install the fuel-pump relay.
Connect the black, negative battery cable.
Start the engine and check for fuel leaks.