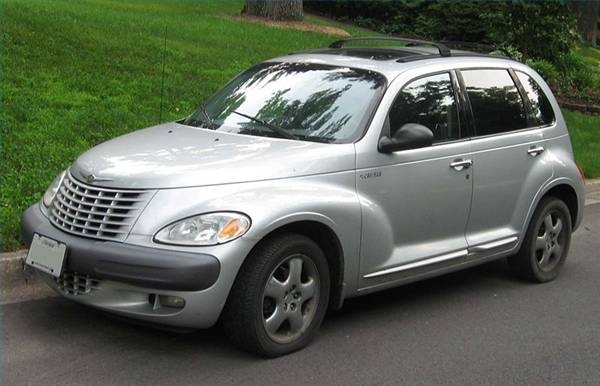
The strut to steering knuckle mounting hardware on your PT Cruiser uses serrated bolts. Make sure to hold them firmly in place with a back up wrench and only turn the nuts when removing. Once you finish replacing the strut assembly or assemblies, have the front wheels aligned.
Park your car in a safe place on a level surface. Open the hood and loosen the front wheel lugs using a lug wrench on the side you are replacing the strut assembly or both sides if you are replacing both strut assemblies.
Raise the front of the vehicle using a floor jack. Safely support it on jack stands and remove the tire or tires.
Match-mark the strut bracket to steering knuckle assembly using a pencil or other suitable marker to align the new strut during installation.
Remove the ground strap and wheel speed sensor from the strut bracket (if equipped) located behind the wheel assembly, using a wrench or ratchet and socket.
Remove the bolts and nuts from the strut to steering knuckle assembly. Use a wrench as a backup tool to hold the bolt in place as you remove the nut using a wrench or ratchet and socket.
Remove the three upper strut mounting nuts using a wrench or ratchet and socket.
Remove the strut assembly off the steering knuckle. You might need to force the strut off the knuckle using a rubber mallet.
Set the new strut assembly in place and install the upper mounting nuts and torque to 23-foot lbs. (31 Nm). Install the strut to steering knuckle bolts and nuts.
Align the strut bracket to the match-mark on the steering knuckle. Hold the bolt firmly in place with a wrench as you install the nut using a wrench or ratchet and socket.
Install the nuts in two steps. First, torque them to 40-foot lbs. using a torque wrench. Then turn the nuts another 90 degrees. If the bolts and nuts are rusted, replace them with new ones.
Install the ground strap and wheel speed sensor on the strut bracket.