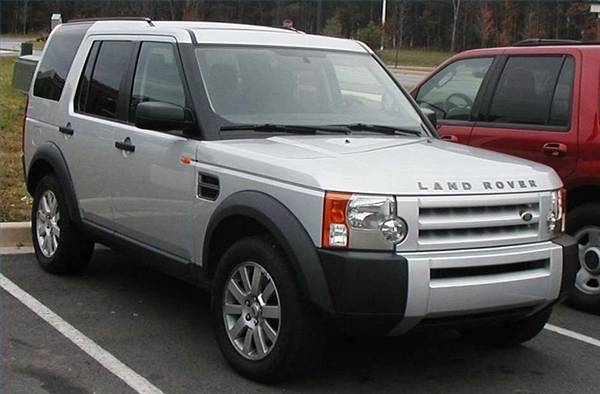
Removing the starter motor on your Land Rover Discovery is a straightforward procedure. However, on some models, you need to use a ratchet, socket and several ratchet extensions to reach and remove the starter mounting bolts.
Park your car in a safe, level place. Open the hood and disconnect the black, negative battery cable.
Remove the transmission shield from the right side of the engine compartment using a wrench or ratchet and socket.
Raise the front of the vehicle using a floor jack and support it safely on two jack stands.
Disconnect the battery cable and wire from the starter solenoid mounted on the starter motor, working from underneath the vehicle. Use a wrench or ratchet and socket.
Remove the two starter to engine mounting bolts using a ratchet and socket. Some Discovery models might not give you enough room to work with the ratchet because of the narrow space. If this is the case, add several extensions to your ratchet to reach the mounting bolts from the other side and above the exhaust pipe. Then remove the bolts.
Maneuver the starter motor off the engine and out of the vehicle. Set the new motor in place and start the mounting bolts by hand to avoid damaging the threads. Another alternative is to ask a helper to hand thread the mounting bolts with the use of the ratchet extensions as you hold the motor in place and guide the mounting bolts into place. Then use the ratchet and extensions to tighten the bolts using the procedure described on step 5.
Connect the battery cable and wire to the starter solenoid.
Lower the vehicle. Install the transmission shield and connect the black, negative battery cable.