An engine’s ability to maintain a specific temperature while running is important to its overall performance. Emissions are also affected be engine temperature. If an engine operates at a cooler temperature from which it is designed for, it will exhaust more harmful emissions than normal. If the engine’s thermostat sticks in the open position, the Lincoln LS engine will operate at less than its optimum temperature. The normal engine temperature is between 180 and 210 degrees Fahrenheit. Likewise, a thermostat that fails in the closed position, blocks coolant flow to the radiator and causes the engine to quickly overheat. In either instance, the 2000 Lincoln’s thermostat requires replacement.
Drain the coolant from the radiator while the engine is cool. The drain petcock is located at the bottom of the radiator, pointing toward the engine. Access the petcock from underneath. Use a catch pan to capture the draining coolant and turn the petcock clockwise to open. Close the petcock after the majority of coolant drains into the catch pan.
Follow the upper radiator hose from the radiator to the engine block. The hose connects to the thermostat housing at the engine.
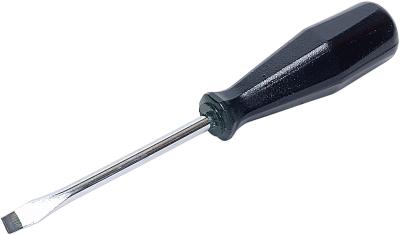
Take off the air breather outlet hose connected to the housing. Loosen the clamp with a regular screwdriver and slide it up the hose. Pull the hose off the thermostat housing.
Loosen the radiator hose clamp at the thermostat housing. A large pair of pliers is necessary for loosening the hose clamp. Grab the two prongs on the clamp with the pliers and squeeze them together to loosen the clamp on the hose. Slide the clamp up the hose toward the radiator. Release the clamp and leave it on the hose.
Remove the two thermostat housing bolts with a ratchet, extension and swivel. With the bolts out, pull the thermostat housing out of the engine block to expose the thermostat. Be careful not to spill coolant onto the serpentine belt. Holding a shop rag under the housing while pulling it out will help.
Pull out the thermostat and sealing o-ring by hand. It may stay in the engine when the housing is removed, or it may stick in the housing. Either way, pull it out and throw it away.
Insert the new thermostat and o-ring into the housing. Ensure the thermostat orientation is the same as the old thermostat.
Install the housing into the block and re-insert the bolts. Tighten the bolts with the ratchet, extension and swivel.
Install the radiator hose onto the housing and re-install the clamp with a pair of pliers.
Plug the air breather outlet hose into the housing and install the clamp with a regular screwdriver.
Refill the radiator with pre-mixed coolant. Fill until the coolant reaches the bottom of the radiator cap. Install the cap and crank the engine.
Observe the hoses, thermostat housing and radiator area for signs of leaking coolant. Tighten any connections that may leak as necessary.
Shut the engine down and re-check the coolant level. Fill the coolant tank to the fill-line with coolant.