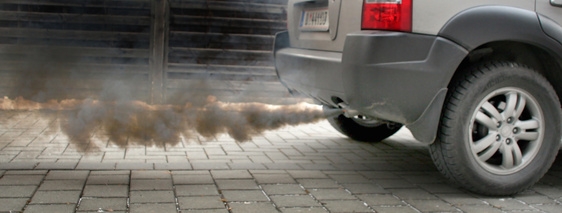
Cracked exhaust welds aren't unusual; frequent drastic changes in temperature--such as when you start and drive your car after it has sat, off, overnight in the driveway in the winter--cause poorly made exhaust welds to crack. Cracked exhaust welds allow poisonous exhaust gases to enter the passenger area of your vehicle rather than exit through the tailpipe as they should. Repairing the welds without a welding machine requires a strong material capable of expanding and contracting. Using materials not recommended for high-heat applications will cause the material to break free of the weld, and the leaking exhaust gases will continue to enter your vehicle.
Run a stainless steel wire brush across the damaged exhaust weld. Continue brushing the exhaust until you remove all rust, dirt and grease from the damaged area.
Wipe the weld with a wet rag.
Apply exhaust repair putty to the cracked weld with a putty knife. Ensure that you cover an area that exceeds all sides of the damaged weld at least 1/2 inch. Push the weld firmly against the surface of the exhaust pipe to bond the putty to the metal.
Smooth out the repair putty by wiping across the putty with the wet rag.
Start the vehicle. Allow the vehicle to run at idle for 10 to 15 minutes.
Allow the exhaust repair putty to dry overnight before using the vehicle.