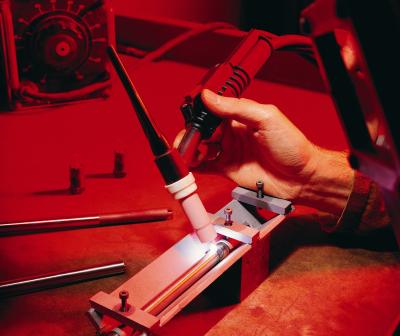
Stick or ARC welding stainless steel requires the use of a welding rod that is compatible with the chemical makeup of the stainless steel you are welding. You can use a higher purity stainless steel welding rod for lower grade stainless steel, but not vice versa. For example, a 316L rod can weld 304-grade stainless steel, but you cannot produce a weld with structural integrity using a 309L rod to weld 316-grade stainless steel; this is due to crystalline structures that form in the weld joint.
Place the two pieces of stainless steel flat on the welding table, with the sides that need to be welded resting 1/16 inch apart. Secure the pieces of stainless steel by clamping them to the welding table with self-locking clamps.
Turn on the ARC welder and adjust the amperage for the size thickness and type of stainless steel welding electrode you are going to use to weld the stainless steel.
Put on your safety glasses, welding helmet and heavy leather welding gloves. Clamp a stainless steel welding electrode in the stinger of the ARC welder and connect the ARC welder's ground clamp to the welding table.
Align the welding electrode with the joint between the two pieces of stainless steel and lower your welding helmet.
Strike and lift the welding electrode on the stainless steel joint to start the ARC between the stainless steel pieces and the welding electrode.
Work the electrode over and down 1/8 inch, then back over the weld joint to weld the two pieces of stainless steel together.
Remove your welding helmet and tap the weld with the chipping hammer to remove the slag from the stainless steel weld.
Allow the weld joint to cool thoroughly before you handle the welded stainless steel--the weld joint will be hot and can cause severe burns.