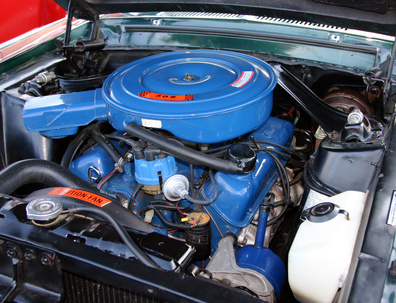
Older engines and those that suffer under extreme conditions of hot and cold typically manifest oil-leak issues over time. While carbon gaskets are standard parts used to seal between engine parts bolted together, even custom-shaped gaskets don't stop oil leaks 100 percent. Silicone sealant can be used to address these issues on older engine parts. The engine parts already should be taken apart from the engine assembly to prepare for silicone use.
Pour a gallon or more of fresh kerosene into a plastic bucket or large bin in an area with sufficient air flow. Place the engine parts to be used in the bucket. Let them soak in the kerosene for at least 10 minutes. Pull the parts up one at a time and scrub them with a plastic brush, removing dirt and grime. Rinse the scrubbed part with more kerosene.
Take the scrubbed part and lay it out on a flattened cardboard mat to dry out outside. Do not let parts dry indoors. Pour the dirty kerosene back into its original container when finished washing the engine parts.
Take the washed parts after they are dry and give them a final wipe with a disposable paper towel. Pay special attention to the mating surfaces of the parts that will join together. Take a plastic scraper or spreader and go along the entire mating surface of an engine part removing any leftover fiber gasket or burnt carbon. Do not use a metal scraper as it will scar the mating surface.
Take two matching engine parts and assemble their internals as necessary. Take a tube of high-temperature silicone sealant and spread it carefully along the mating surface of one engine part. Do the same on the second side. Apply the silicone sealant, so it will sandwich between when the engine parts are joined.
Position the engine parts, so they can be closed up while the silicone is still wet. Push them together carefully, so the sealant doesn't get twisted or moved wrong. Insert the tightening bolts and nuts. Use a crescent wrench to hold one side of the bolt in place. Tighten each bolt and nut to the proper tightness with a torque wrench and the torque setting specifications for your particular engine. Wipe off the remaining silicone that squeezes off the engine part sides when finished tightening.