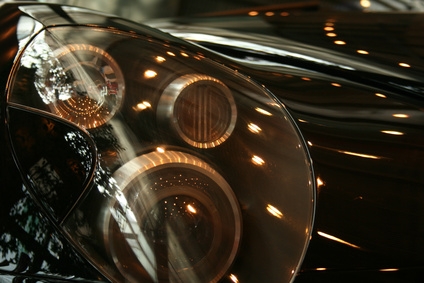
If you notice your Mercedes A class car is projecting less light than usual, you might have a burned out headlamp. A failed headlamp makes it harder for you to see at night and can also land you in trouble with the law. Replacing the headlamps on your A class is a simple procedure that requires no tools or expertise.
Turn off the Mercedes A Class and ensure the light selector switch is in the off position. Let the headlamps cool for several minutes if the vehicle has been running with the lights on. Headlamps operate at high temperatures and can burn you if you do not allow them to cool.
Remove the washer fluid reservoir to gain access to the driver's side headlamp. Twist the reservoir counterclockwise to release it from the mount, then pull straight up. Carefully set it to the side on a level surface to prevent fluid from leaking. This step is not needed for the passenger side headlamp.
Release the retaining lug by pressing down, then remove the outer housing.
Rotate the bulb holder counterclockwise and pull it straight out to remove it from the headlight assembly.
Remove the bulb from the socket by pulling it straight out. Be careful not to strike the bulb against any hard objects or it might shatter. Insert the new bulb in its place.
Carefully insert the bulb assembly into the headlamp housing. Lock it in place by rotating the bulb clockwise.
Flip the retaining hub up to lock the bulb in place.