Between the head and the engine block of a Chevy 350 resides a head gasket. The head gasket is a seal; it keeps the coolant that is moving from the engine block to the head from entering the combustion chambers of the motor. When a head gasket fails, coolant can enter the combustion chamber, which is a bad thing. Installing a new head gasket requires a special torque sequence to ensure the gasket seats properly against the head. Failing to follow the proper tightening sequence will result in the head gasket failing shortly after installation.
Stand facing the head you are tightening.
Mark the top row of head bolts, using a wax marker, starting with the leftmost bolt. Mark that bolt 13. Mark the next bolt, moving to the right, 5. Mark the third one 2 and the fourth one 10. Move to the middle row of bolts and label them 17, 9, 1, 6 and 14 from left to right. Mark the lowest row of head bolts 16, 12, 8, 4, 3, 7, 11 and 15, left to right.
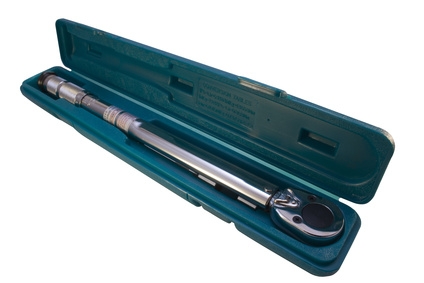
Attach a socket matching the size of your 350 Chevy's head bolts to a torque wrench.
Set the torque wrench to 65 foot-pounds.
Tighten the head bolt marked number "1" with the torque wrench. Stop tightening the bolt when the torque wrench signifies the bolt has 65 foot-pounds of torque. Torque each bolt in the order they are numbered. For example, the next bolt you will torque is number "2," then number "3," until you reach bolt number 17.
Mark and tighten the bolts on the other head in the same manner as the first.