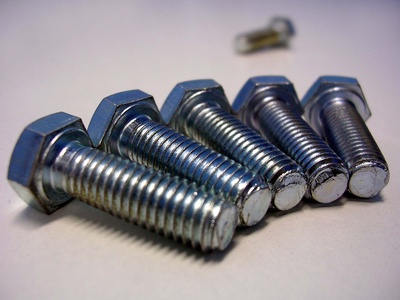
Cutting threads on a steel rod requires a die set. A cutting die is the sister tool of a tap. A tap cuts threads into material, and a die cuts threads around material. When the threads are cut correctly, a hex nut will thread onto the threaded section of the steel rod. This allows you to use the threaded steel rod as a structural fastener or spacer. Rushing through the threading process can create unusable threads that will not accept a nut.
Secure the steel rod into a bench-mounted vise with one end of the steel rod pointed toward the ceiling.
Insert a blade of a thread gauge inside of the hex nut. If the V-notches of the thread gauge blade do not match the inside threads of the hex nut, flip out and check the nut with another blade. When you find a blade that matches the hex nut threads exactly, read the size and thread count stamped in the side of the blade.
Select a die from a die set that matches the size stated on the thread gauge blade.
Insert the flat side of the die into the socket of the die wrench. Tighten the thumb screws located on either side of the socket with your fingers to secure the die in the die wrench.
Apply cutting fluid to the interior cutting threads of the die and the surface of the steel rod.
Set the die onto the end of the steel rod. Hold both handles of the die wrench with your hands. Apply pressure toward the end of the steel rod as you turn the die wrench clockwise for right-hand threads or counterclockwise for left-hand threads. Keep the die wrench square to the steel rod as you turn to ensure the threads cut square.
Turn the die wrench 1/2 turn in the reverse when you feel the die wrench becoming harder to turn. Apply additional cutting fluid to the die cutting threads and continue cutting thread on the steel rod.
Reverse the direction you are turning the die wrench to remove the die from the steel rod when you have threads cut to your required length.
Wipe the threads with a clean rag to remove metal shavings from the steel rod.