The GMC Yukon comes in a few different packages with a variety of options. Available in two-wheel or four-wheel drive, it also features an upgraded version of the Yukon Denali and the Yukon XL. The most popular Yukons came in the 1500 series (quarter-ton) with a front and rear shock absorber suspension. The front of the SUV employed a coil spring to suspension, and the rear used a leaf spring suspension.
Place a wheel block behind the rear tires and apply the parking brake.
Loosen the front wheel nuts with a wheel nut wrench (no more than a half turn), hoist the front of the Yukon up with the service jack and then place a jack stand under the lower control arm. Finish removing the wheel nuts and then remove the wheels.
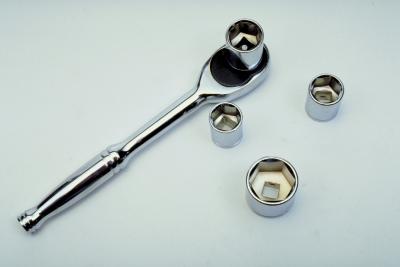
Place a box-end wrench onto the upper shock mounting nut, and then hold the stem of the shock with another box-end wrench (smaller) or a ratchet and socket. Loosen the upper mounting nut by turning it counterclockwise while holding the stem. You will need to remove the wrench from the mounting nut to reposition it for room every half turn or so.
Remove the two lower mounting bolts and nuts on the shock absorber using a wrench to hold the head of the bolts, and a ratchet and socket to remove the nuts.
Remove the shock. On two-wheel drive models, the shock is placed inside of the coil spring, so it will drop down from inside the coil spring through the lower control arm. On four-wheel drive models, it is separate from the coil spring and has its own mounting plate at the top of the frame, and the bottom is bolted to the lower control arm.
Reverse the procedure to reinstall the shocks. Be sure to replace the upper bushings and washers (equipped with the replacement shocks) correctly onto the stem. Install the lower washer and bushing onto the stem before installing the stem through the upper shock plate. Then place the upper bushing and the upper washer onto the stem before replacing the upper mounting nut.
On two-wheel drive models, torque the upper retaining nut to 12 foot-pounds and the lowers to 25 foot-pounds with the torque wrench and a socket. On four-wheel drive, torque the upper and lower mounting nuts to 66 foot-pounds. Replace the wheels and torque the lug nuts to 120 foot-pounds. Some later models may require a higher torque specification.
Place the wheel wedge in front of one of the front tires, then loosen the rear wheel nuts as illustrated in Section 1.
Hoist the rear axle and set the jack stands beneath the rear axle itself, making sure not to get too close to the lower shock mounts. For added safety, place the cup of the service jack below the rear differential and lift the jack cup just high enough to touch the bottom of the differential.
Spray the mounting bolts (upper and lower) with a copious amount of penetrating lubricant and allow it to soak in for five to 10 minutes.
Hold the bolt heads with a box-end wrench, remove the mounting nuts from the upper shock mount, then the lower shock mount. Remove the shocks. Remove and replace one side at a time so you do not overstress the rear leaf springs with the weight of the rear axle with the truck elevated.
Replace the shocks by reversing the removal installation. Tighten the upper and lower retaining nuts to 60 foot-pounds. On some older versions of the Yukon, the upper shock may be connected to the frame with two small retaining bolts instead of one shock eyelet bolt. Tighten these two small bolts to 20 foot-pounds if applicable.