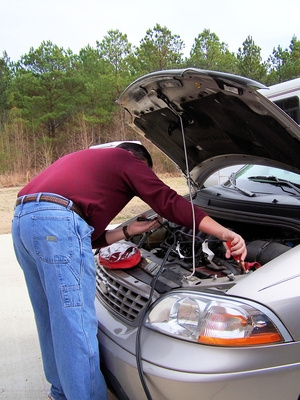
There is nothing worse than going to start your car and hearing the familiar clicking sound of a dead battery, especially if you own an older vehicle such as a 1998 Chrysler Sebring. After attempting to jump-start the car, if the engine will still not turn over, chances are the battery is shot. The battery in this year Sebring is tucked away in front of the wheel well behind a plastic cover, but once it is accessed it can be replaced quickly and with few tools. If you keep a small toolkit in your vehicle you could even perform such a repair from the side of the road, provided you can obtain a new battery.
Access the battery by first turning the steering wheel to the full left position. Power off the car and open the hood to access the engine bay. The battery is located in front of the passenger's side wheel well, and is accessed by removing the plastic shield in front of the wheel. Loosen the four plastic screws holding the shield in place and remove it.
Disconnect the black negative battery cable by loosening its retaining bolt with an adjustable wrench and pulling it off the battery terminal. In some cases, the corrosion on the terminal and battery cable may freeze the two components together. If the terminal will not come free easily, use a screwdriver to pry it away.
Disconnect the red positive battery cable in the same fashion as the negative cable.
Remove the old battery by loosening the nut on the retaining clamp (the plastic bar extending over the top portion of the battery) and lifting the battery up out of the battery tray.
Scrub the terminal ends of the battery cables with a wire brush and a mixture of baking soda and water. It is also a good idea to clean out the battery tray at this time.
Place a new battery rated at 525 cranking amps in the tray and secure it in place by tightening the bolt on the holding clamp.
Reconnect the battery cables. Connect the positive cable first, then the negative cable.
Replace the plastic shield and fasten it in place with the screws.