Several different reasons exist for removing a door panel on a Chevy Silverado. Side window repair, speaker replacement, window control module, window motor, upgrading to a directional side-view mirror (one that displays the directional light on the mirror when you turn on the directional switch) or even replacing the door panel itself are all reasons that require removing the door panel. The procedure is not overly complicated, but there are a few precautions to take into consideration.
Open the door and power the window all the way down if possible. (If you're replacing the window motor and the window does not work, it's not required that you have the window down, but it gives you more room to work with without the risk of scratching the window.)
Remove the side view mirror sail located in the upper corner of the door panel. This trim piece covers the interior side of the side view mirror. Pry it off with the small, angled trim tool from the top and rear side. Once the two retaining caps are released, pivot the top of the sail out and extract it from the bottom anchor on the door frame.
Pry the door lock trim bezel from the rear toward the front of the door using the trim tool. Push it forward once the rear retaining clip is released to remove it from the door panel.
Use the trim pry tool to pry the window control module up away from the front of the arm rest. Be aware it has wire harness connections beneath it.
Disconnect the wire harness connections. The have specific plug connections so you don't have to worry about mixing them up for reassembly. Use a small, bladed, straight-edge screwdriver to depress the plug locks, and then pull the plug connection from the window control module. The three plug connections include the power mirror, window motor and power lock harnesses.
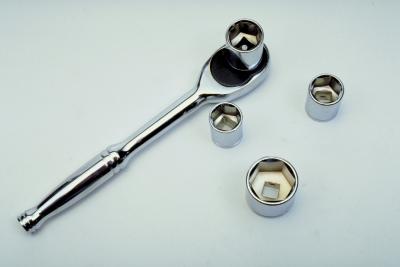
Locate and remove the door panel retaining screw underneath the rear of the window control module cavity. Use a 7-mm socket wrench, or a ratchet, extension and 7-mm socket.
Remove the retaining screw beneath the door pull handle with the socket wrench or ratchet.
Pry the door handle trim bezel, again from the rear toward the front of the door like the door lock trim bezel. Unseat the door handle trim bezel and work it off of the door handle.
Pry the interior door light lens from the lower rear portion of the door panel. Pry it from the bottom to unseat the clips, and then unplug the wire harness connection.
Pry the door panel from the door frame with the trim tool. Start at the bottom and work your way up both sides.
Lift the door panel upward once unseated from the door frame to remove the upper retaining lip of the panel from the door frame. Again, be aware that one or two more wire harness connections will still be connected to the backside of the panel.
Reach behind the door panel while supporting it and disconnect the speaker wire harness and, if applicable, the heated seat wire harness. Remove the door panel.