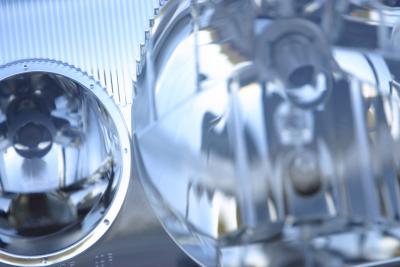
A vehicle's headlight lens is the plastic section of the headlight that covers the bulb and reflector. There are many reasons to replace the headlight lens on a vehicle. The most common reasons for replacement are damage and discoloration due to oxidation. Replacing the lens on a headlight is one of the easiest auto repair tasks to do and requires nothing more than a screwdriver. The most important part of replacing a lens is to get the correct size lens for the vehicle.
Remove the headlight from the vehicle per the manufacturer's instructions. In some vehicles, a screwdriver can be used to remove clips located along the edge of the engine compartment. In other vehicles, you must partially detach the bumper to access the headlight.
Locate the clips positioned around the perimeter of the lens where it connects to the headlight. The clips are constructed of either metal or plastic.
Insert a screwdriver through the center of each clip and lift the screwdriver up to detach the clip from the lens. Remove the clips from the top, bottom and both sides of the lens.
Grasp either side of the lens with your hands and pull it free from the headlight. If the black gasket comes off with the lens, remove it from the lens.
Push the black gasket securely against the edge of the headlight opening.
Place the new lens onto the headlight in the same position as the old lens. Hold the lens in place with one hand.
Grasp one of the clips in the other hand and place one end of it on the edge of the headlight. Press down on the clip until an audible click is heard.
Press down on the other side of the clip which covers the edge of the lens. An audible click is heard when the clip is secure.
Reinstall the headlight in the car per the manufacturer's instructions.