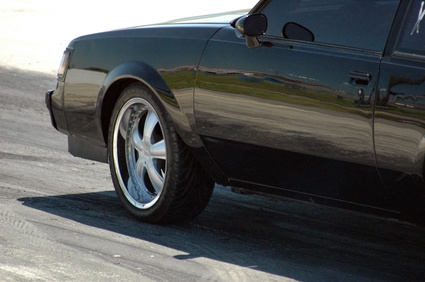
The low profile tire is made to be lower to the ground and closer to the wheel for performance and cosmetic reasons. If you have low profile tires on your car, you might find that you are constantly filling them with air. You might not know that you have damaged the tire by hitting a pothole or damaged the rim when you hit a curb. When you have a low profile tire on your car, you have to be careful to avoid potholes and other items in the road because there is not much air in the tire to cushion an impact. Trauma to a tire from potholes and other impacts can cause leaks and damage it beyond repair.
Inflate your tire to the maximum pressure with the air compressor. The recommended pressure is indicated on the sidewall of the tire.
Put your tire into the water tank to look for leaks. When a tire is leaking, you will see bubbles in the water rising to the top. In many cases the low profile tire will leak from the bead area. The bead area is where the tire and the rim meet. Once you have found out the type of leak you are dealing with, you will be able to determine if the tire can be fixed. In some cases you might find that you have a cracked rim or a tire that has been damaged beyond repair. If at this point you see that your tire is leaking from the bead area, move on to the next step.
Remove the valve core from the valve stem by inserting the valve core tool into the stem and turning it to the left.
Identify the bead breaker tool on the tire machine. You will usually find the bead breaker on the right side of the rim clamp tire machine. The bead breaker is made of metal and is curved. You control it with a pedal at the base of the machine.
Position the tire and rim in the bead breaker by rolling it to the point where the head of the bead breaker sits between the tire and the rim. Press the bead breaker function pedal and break the bead. Break the bead on the back side of the tire in the same fashion as you did the front bead.
Inspect the bead areas for anything that could be lodged in between the tire and the rim. Many times you will find corrosion and flakes of metal from the rim. Use the wire brush to clean the bead areas as well as possible.
Unscrew the top of the can of bead sealer, which is a liquid rubber. You will find an application brush attached to the top. Liberally brush the bead sealer inside of the front and back bead, without missing a spot.
Inflate the tire with the air compressor and install the valve core with the valve core tool. Place the tire and rim back into the tank to make sure the tire is sealed.