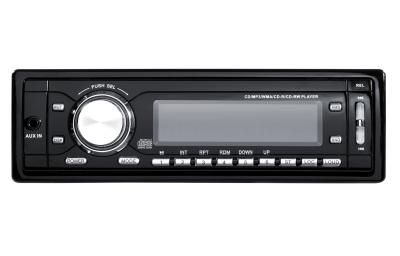
Back in 1927, Dual was originally a gramophone power supply manufacturer that eventually began to manufacture its own line of record turntables. The Dual franchise was sold a number of times until eventually in 2002 Namsung Electronics, a Korean-American company, bought the rights to use the Dual name selling home, car and marine audio equipment. Installing a Dual car stereo is a relatively simple procedure provided you use an aftermarket wiring harness designed specifically for your vehicle.
Open the engine compartment. Locate the vehicle's battery. Disconnect the black negative (-) battery cable using a Crescent wrench.
Connect an aftermarket wiring harness designed specifically for your vehicle to the Dual stereo by matching the colored wires together and twisting the bare wire ends together. Wrap the connections in electrical tape.
Slide the metal sleeve that accompanied the Dual stereo into a stereo mounting kit that was manufactured specifically for your vehicle. Bend the tabs on the metal sleeve using a screwdriver to secure it to the mounting kit.
Remove the plastic bezel that surrounds the factory stereo using a panel removal tool. Remove the screws that secure the factory stereo to the dashboard of the vehicle. Slide the factory stereo out away from the dashboard. Unplug the stereo wiring harness from the vehicle's electrical wiring harness by pulling them apart.
Secure the mounting kit with metal sleeve into the stereo opening using the screws that secured the factory stereo. Plug the aftermarket wiring harness that is connected to the Dual stereo into the vehicle's electrical wiring harness. Slide the Dual stereo into the metal sleeve.
Replace the plastic bezel by pressing it into place. Reconnect the negative battery cable. The Dual stereo is now installed.