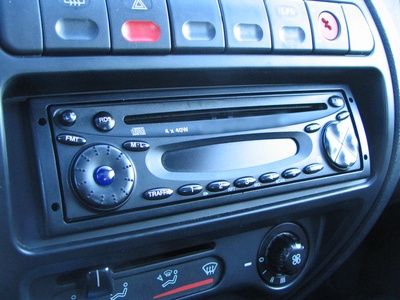
The amount of features available on aftermarket car stereos today means that drivers will scroll through them a lot more. This can be hazardous if the driver takes his eyes off the road. Pioneer stereos are equipped with a port on the back so that a separately purchased, wired remote control can be installed. Installation involves removing the radio from the dashboard housing and feeding the wiring out of the dashboard to the driver control panel nearer the steering wheel.
Disconnect the car battery. Insert Pioneer radio removal keys into the slots under the radio faceplate. Click the keys into place. Push the keys sideways and pull on them to drag the stereo out of the dashboard.
Locate the wired remote port on the rear of your stereo. It is the lower port on the far right side.
Plug the jack of the wiring to the remote control into the port on the rear of the stereo.
Feed the other end of the remote wiring out of the dashboard portal. Reinsert the stereo into the dashboard. The remote can now be installed where you want on the dashboard. Take care that the wiring does not obstruct anything.