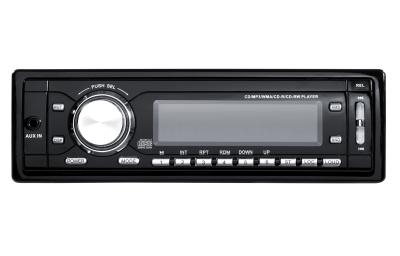
Dodge Dakota owners will eventually find the need to replace their truck's stock stereo system with an aftermarket unit. The factory-installed AM/FM stereo can be removed by a car audio novice in well under 30 minutes. Purchase the wiring and stereo dock adapters to fit the new unit into the Dakota's stereo mounting dock. Total time for removal and installation should be under one hour for even the most inexperienced owners.
Disconnect the negative battery cable from the negative battery terminal with the 10-mm wrench.
Remove the eight Torx-15 screws from the Dakota's dashboard; four at the corners of the dashboard on the left side of the steering column, the rest surrounding the stereo and climate controls.
Remove the two screws at the bottom corners of the lower dash panel on the driver's side of the truck with a Phillips-head screwdriver. Remove the panel and remove the two screws behind it with the screwdriver.
Grab the main dashboard panel over the stereo and climate controls and pull it away from the dashboard. Work your hands around the perimeter of the panel until the panel is removed from the dash and the stereo bracket is revealed. Set the panel aside.
Remove the two 10-mm screw bolts on the sides of the stereo with the socket and drive. Slide the stereo from the dock and disconnect the stereo wiring and antenna cable from the back of the unit.
Plug the plastic stereo wiring binders into the wiring harness adapter leads. Slide the stereo faceplate adapter into the mounting dock in the dash. Plug the wiring harness adapter leads into the outlets on the back of the new stereo. Insert the antenna cable lead into the FM antenna input on the back of the aftermarket stereo deck. Slide the unit into the faceplate adapter until it locks into place.
Place the main dash panel back into place on the dashboard. Replace the four screws on the left side of the steering wheel and around the stereo and climate controls with the Torx-15 wrench. Screw in the two screws under the steering wheel and replace the lower dash panel. Replace the two screws in the bottom corners of the panel with the screwdriver. Return to the Dakota's battery.
Replace the battery cable onto the negative battery terminal. Tighten the cable to the battery with the wrench. Close the hood.