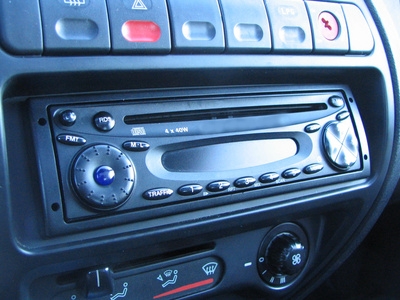
Aftermarket stereos typically provide more options, a different setup and better quality than stock radios. Replacing the factory-issued unit in your 2006 GMC can enhance the interior quality and value of your vehicle. Removal of the old stereo requires a specific tool that can be purchased from a GMC dealer or at many vehicle stereo stores. The installation of a new stereo requires only basic tools and a few minutes.
Park your GMC on a flat surface and pop the hood.
Remove the negative (black) terminal from its battery post using a crescent wrench. This will stop the flow of electricity to the truck's stereo system.
Climb back inside the vehicle. Insert both pieces of the GMC radio-removal tool into the four corresponding holes on the sides of the radio face. Be sure to point the tools' teeth in toward each other. Press the tools in until they click and lock into place.
Gently bend the two pieces of the tool together and pull the stereo system out of its housing. It should slide out easily.
Unplug the audio and power cords from the back of the stereo. These should be standard, toothed plugs that can be loosened by squeezing together both sides of the plugs.
Remove your new stereo system from its packaging. Plug the power and audio cables into the back of the stereo.
Gently slide the new system into the stereo housing.
Press in the stereo until it clicks into place.
Climb out of the vehicle and reattach the negative battery terminal.
Start your vehicle and configure your new stereo system, using the instructions provided.