If you are considering replacing your Hyundai stereo with an up-to-date stereo with MP3, bluetooth, or satellite-radio capabilities, it will be necessary for you to remove the old stereo first. Taking out your old Hyundai stereo yourself can save you up to $50 an hour in labor fees. Removing the stereo yourself also will help familiarize you with the wiring of your stereo, since installing will be in reverse. Removing a Hyundai stereo is a simple procedure that can be done in under an hour.
Disconnect the black, negative battery cable. Disconnecting the battery will prevent any electrical shocks or shorts in the vehicle's electrical system.
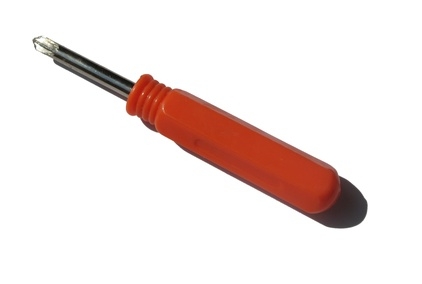
Remove all trim pieces that surround the stereo. Some face-plates and trim pieces are attached with pressure sensitive clips. Remove these by gently prying with a small screwdriver or trim removal tool. A few Hyundai vehicles have trim pieces attached with screws. You can usually find these screws in plain sight.
Undo any bolts that attach the stereo to the car.
Pull the stereo out and remove the antenna cable and power connector. The antenna cable is connected to the stereo on the passenger side and the power connector is on the driver side. Disconnect the stereo's wiring harness.
Fully remove the stereo and set it aside.
Disconnect the black, negative battery cable to prevent any shorts or electric shocks to you or you vehicles electric system.
Insert your DIN keys into the corresponding stereo holes on the front of your stereo.
Pull the U shaped DIN keys outward and toward you until the stereo detaches.
Disconnect the antenna cable, power connector and wiring harness.
Slide the stereo out and set it aside.