The Toyota Sequoia SUV shares most of its components, including the radio and dash panel, with Toyota's Tundra pickup truck. The Sequoia's stereo unit is mounted within the front part of the dash, similar to many other vehicles. However, several components must be removed to allow access to the Sequoia's radio. Toyota radios incorporate anti-theft protection--if you plan on reusing the old radio, make sure you have the factory anti-theft code prior to unhooking the battery. If you don't, contact a Toyota dealer beforehand.
Turn all three (fan, temperature and air flow) of your climate-control knobs all the way to the left. (Since you'll need to remove the knobs, putting them all in the same position is helpful during reinstallation.)
Open the hood. Loosen the nut around the negative battery cable with a pair of pliers. Remove the cable from the negative-battery post.
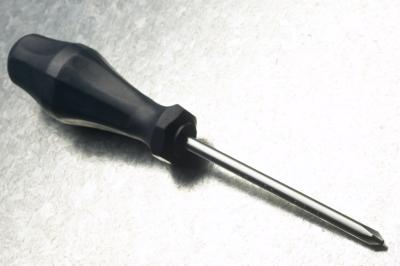
Grasp the climate-control knobs (one at a time) and pull them straight back to remove them. Remove the Phillips-head screw behind each climate-control knob.
Push the top part of the center-air vents in, as if you were aiming the vents to blow upward. Behind the top edge of each vent, you'll find a Phillips-head screw. Remove these screws.
Grasp the radio-surround panel, including the part surrounding the climate-control knobs. Pull the panel firmly to release it from the dash.
Remove the four 10-mm bolts that mount the radio in the dash. Pull the radio out. Unplug the harness and cable from the rear.